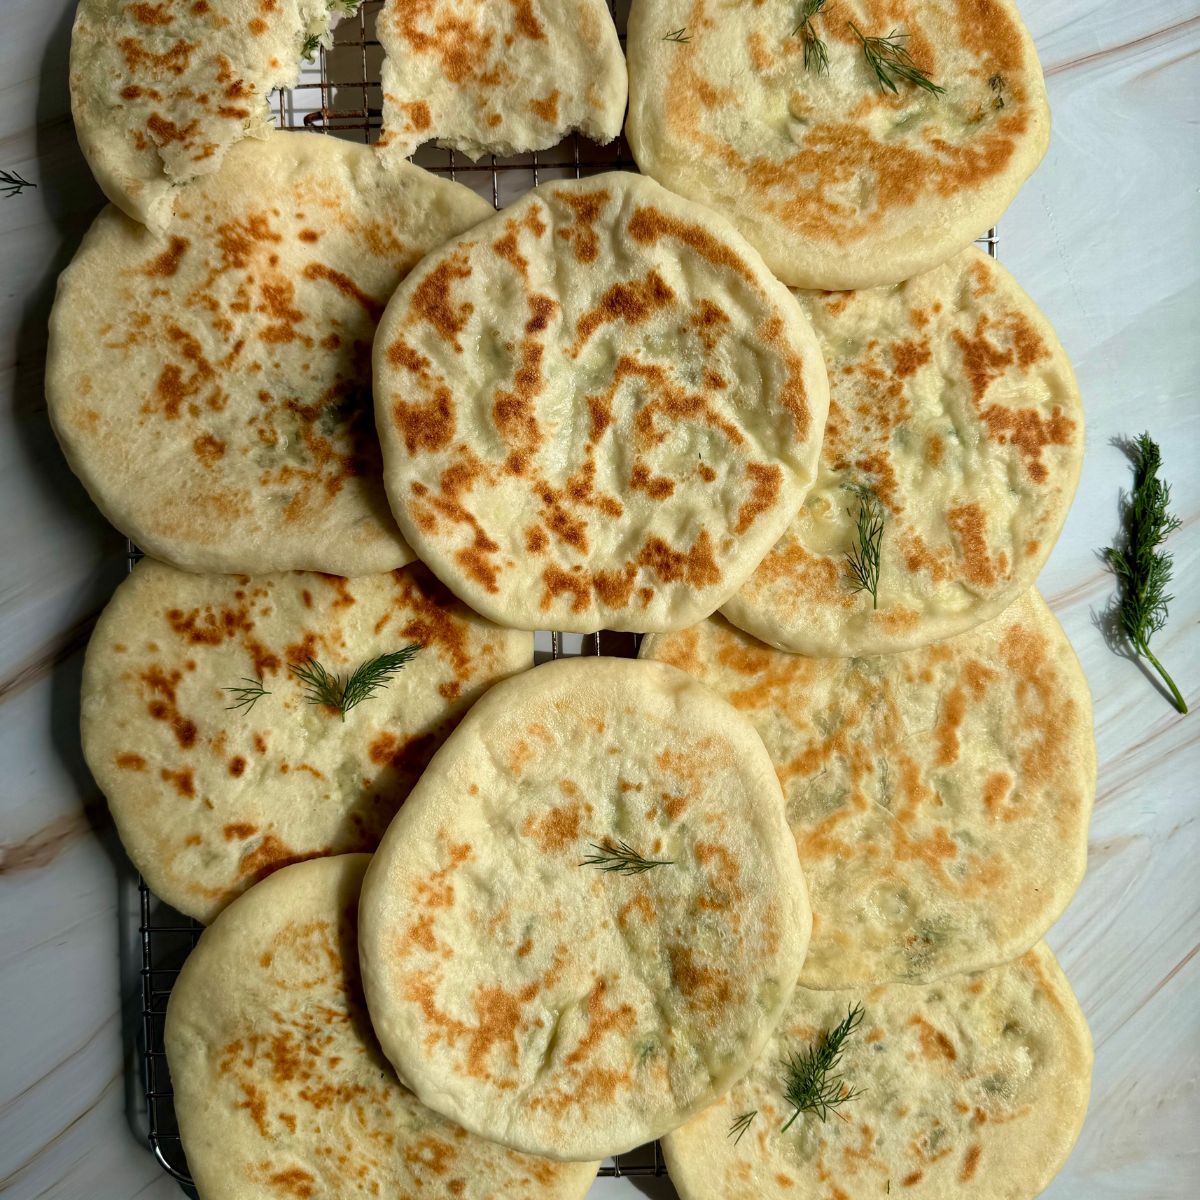
Feta & Dill Stuffed Greek Pita
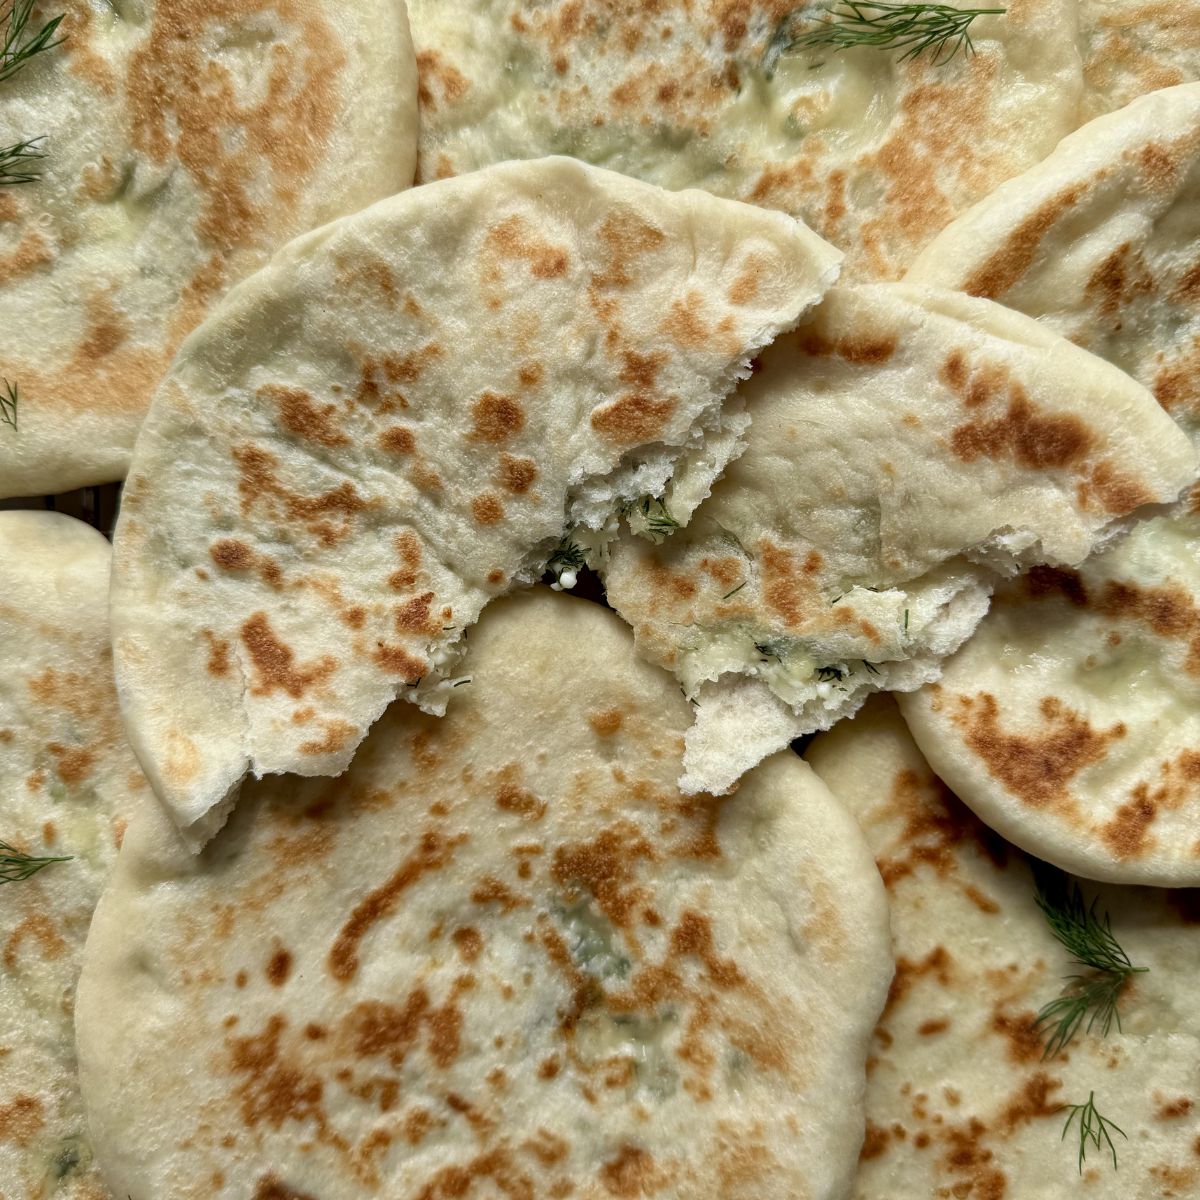
Make soft and fluffy Greek pitas from scratch with this simple, foolproof recipe. Fresh, warm, and so delicious - much better than store-bought! Stuffed with fresh dill and feta cheese, you'll be making these regularly!
Quick Look: Greek Pitas
- ⏰ Prep Time: 10 minutes
- 🔥 Cook Time: 30 minutes (+ 1 hour of proofing)
- ⏳ Total Time: 1 hour 40 minutes
- 🥦 Makes: 10 pitas
- 🍽️ Calories: 260 per pita
- 📖 Dietary info: vegetarian, summer, bread, seasonal
- ⭐️ Why you'll love it: these pitas make the most delicious side dish for dipping in sauces, or use them as a main for a wrap. They are very easy to make, and will be a huge hit for whoever you make them for!
SUMMARIZE & SAVE THIS CONTENT ON
This Greek Pita recipe is my new summer obsession. Stuffed with feta cheese and fresh dill, they are so flavourful and a real crowd pleaser. They are delicious on their own, but they also pair well as a meal. I like to enjoy them with hummus, grilled veggies, grilled halloumi and my easy pickled onions.
Jump to:
Why You’ll Love This Recipe
- Flavourful: the added feta and dill to the middle of these pitas adds so much flavour.
- Seasonal: these are the perfect thing to make during the summer. Use fresh dill, and top with grilled halloumi, and veggies for an easy summer meal.
- Easy: this recipe is pretty foolproof, but bread does take time, and can't be rushed. Just follow the instructions, and this recipe is quite easy!
Ingredients You'll Need
Full ingredient measurements & instructions are in the recipe card below.
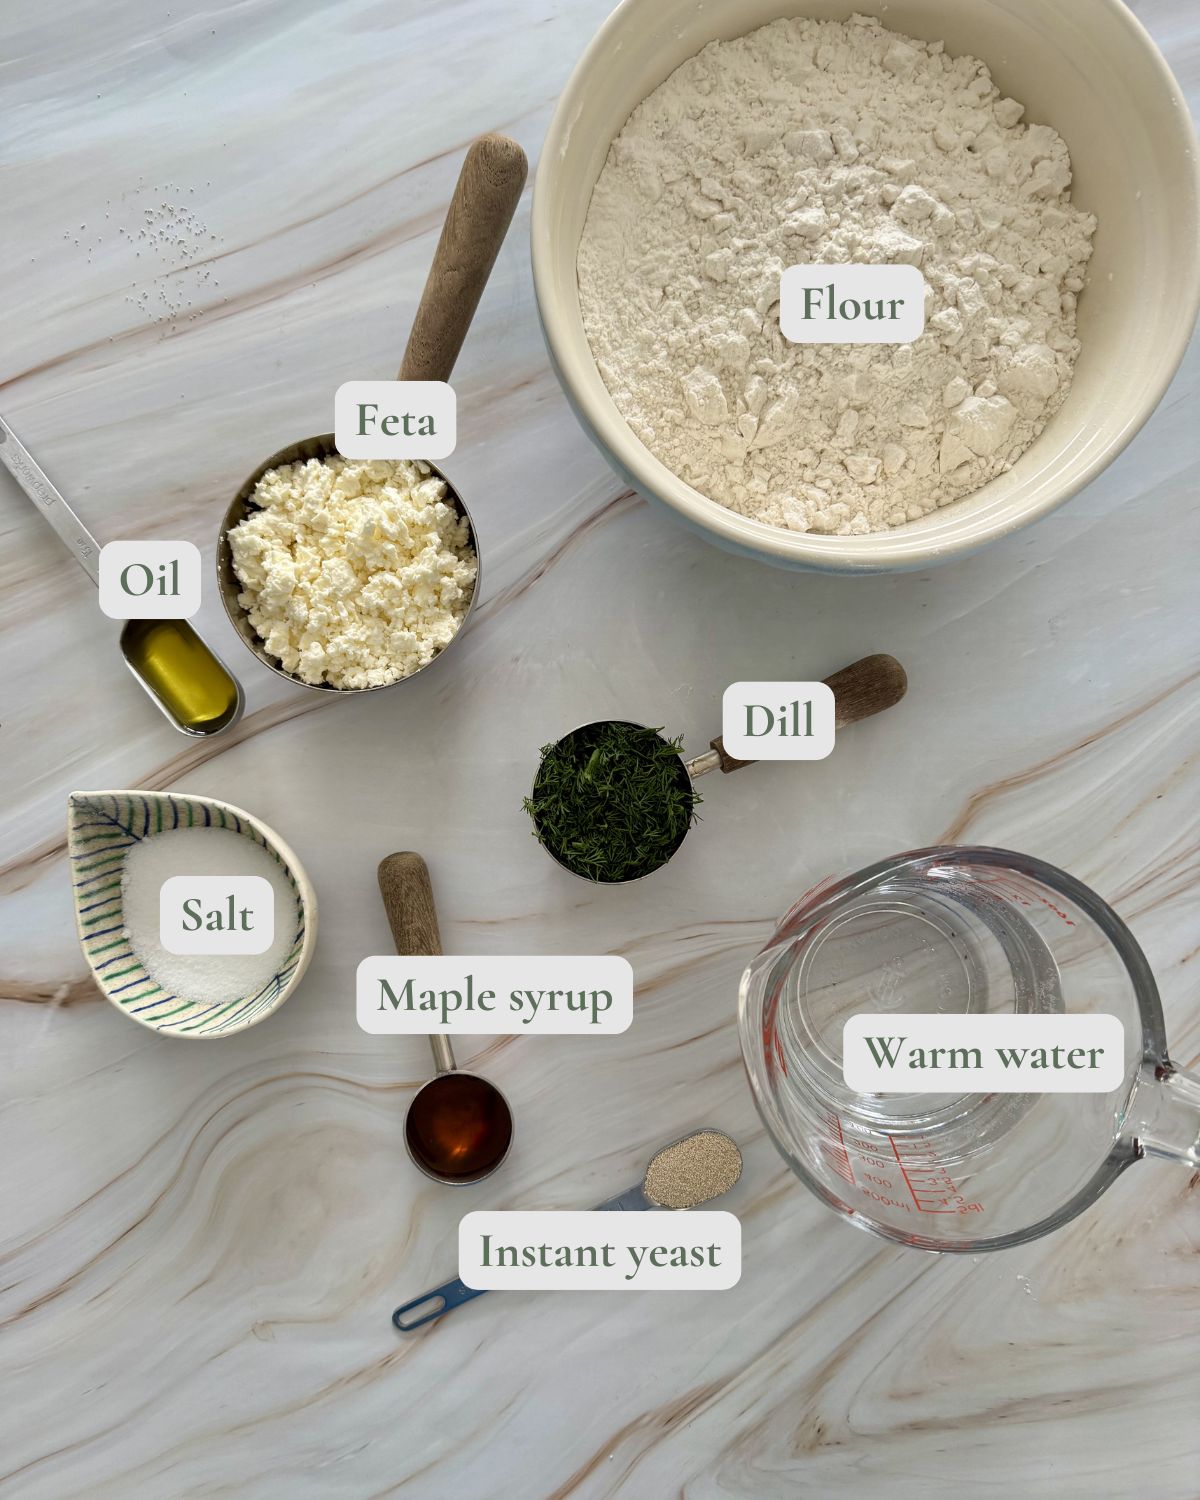
- Yeast: quick rise instant yeast is the way to go with this recipe. It allows for a quicker rise time, and means these pitas don't take too long to make.
- Warm water: you want your water to be 'bathtub water' warm. Not too hot or you'll kill your yeast, and not too cold or it won't be activated.
- Feta: I prefer a full-fat feta to a low-fat version. Make sure it's very well crumbled before mixing in your dill. This will allow for easier stuffing, and more even cooking.
- Dill: I have only tried this recipe with fresh dill. I just roughly chopped mine.
How to Make Greek Pitas
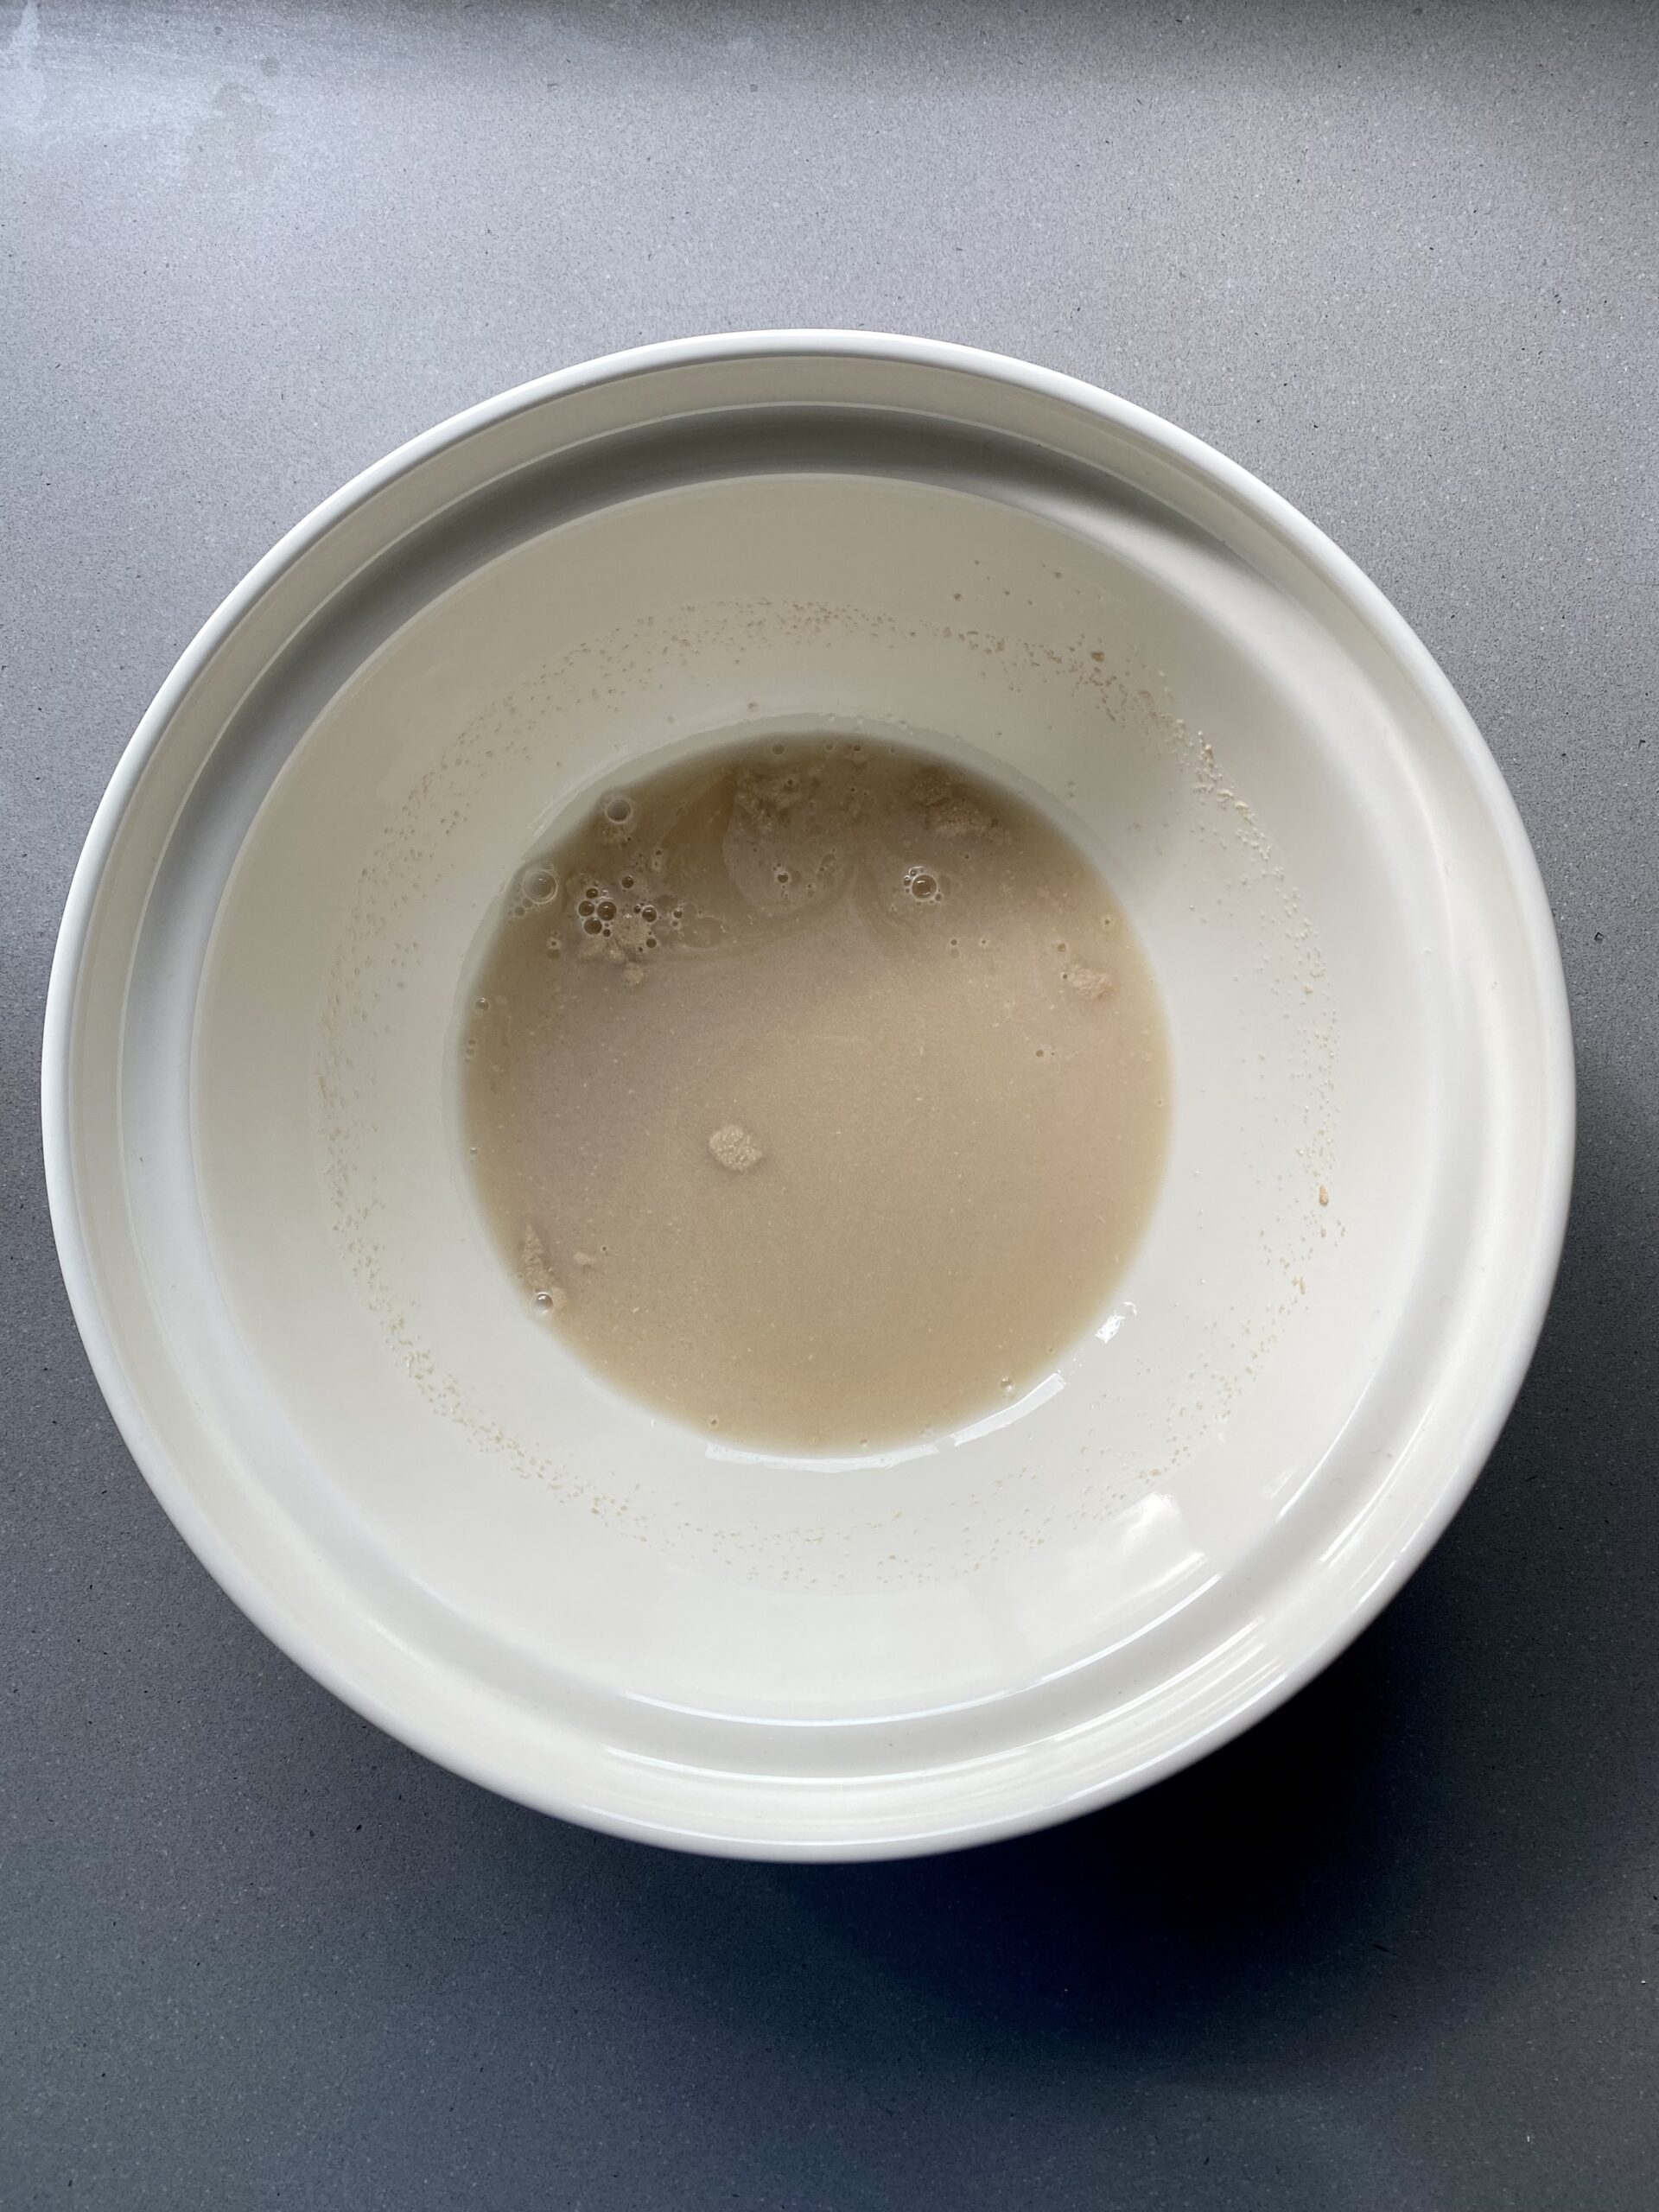
- Step 1: Combine syrup, yeast and warm water in a bowl. Let sit for 2-3 minutes.
- Step 2: Add flour, salt, oil and remaining water. Combine with your hands, then transfer to the counter and knead until dough comes together, and is smooth & elastic, about 3-5 minutes.
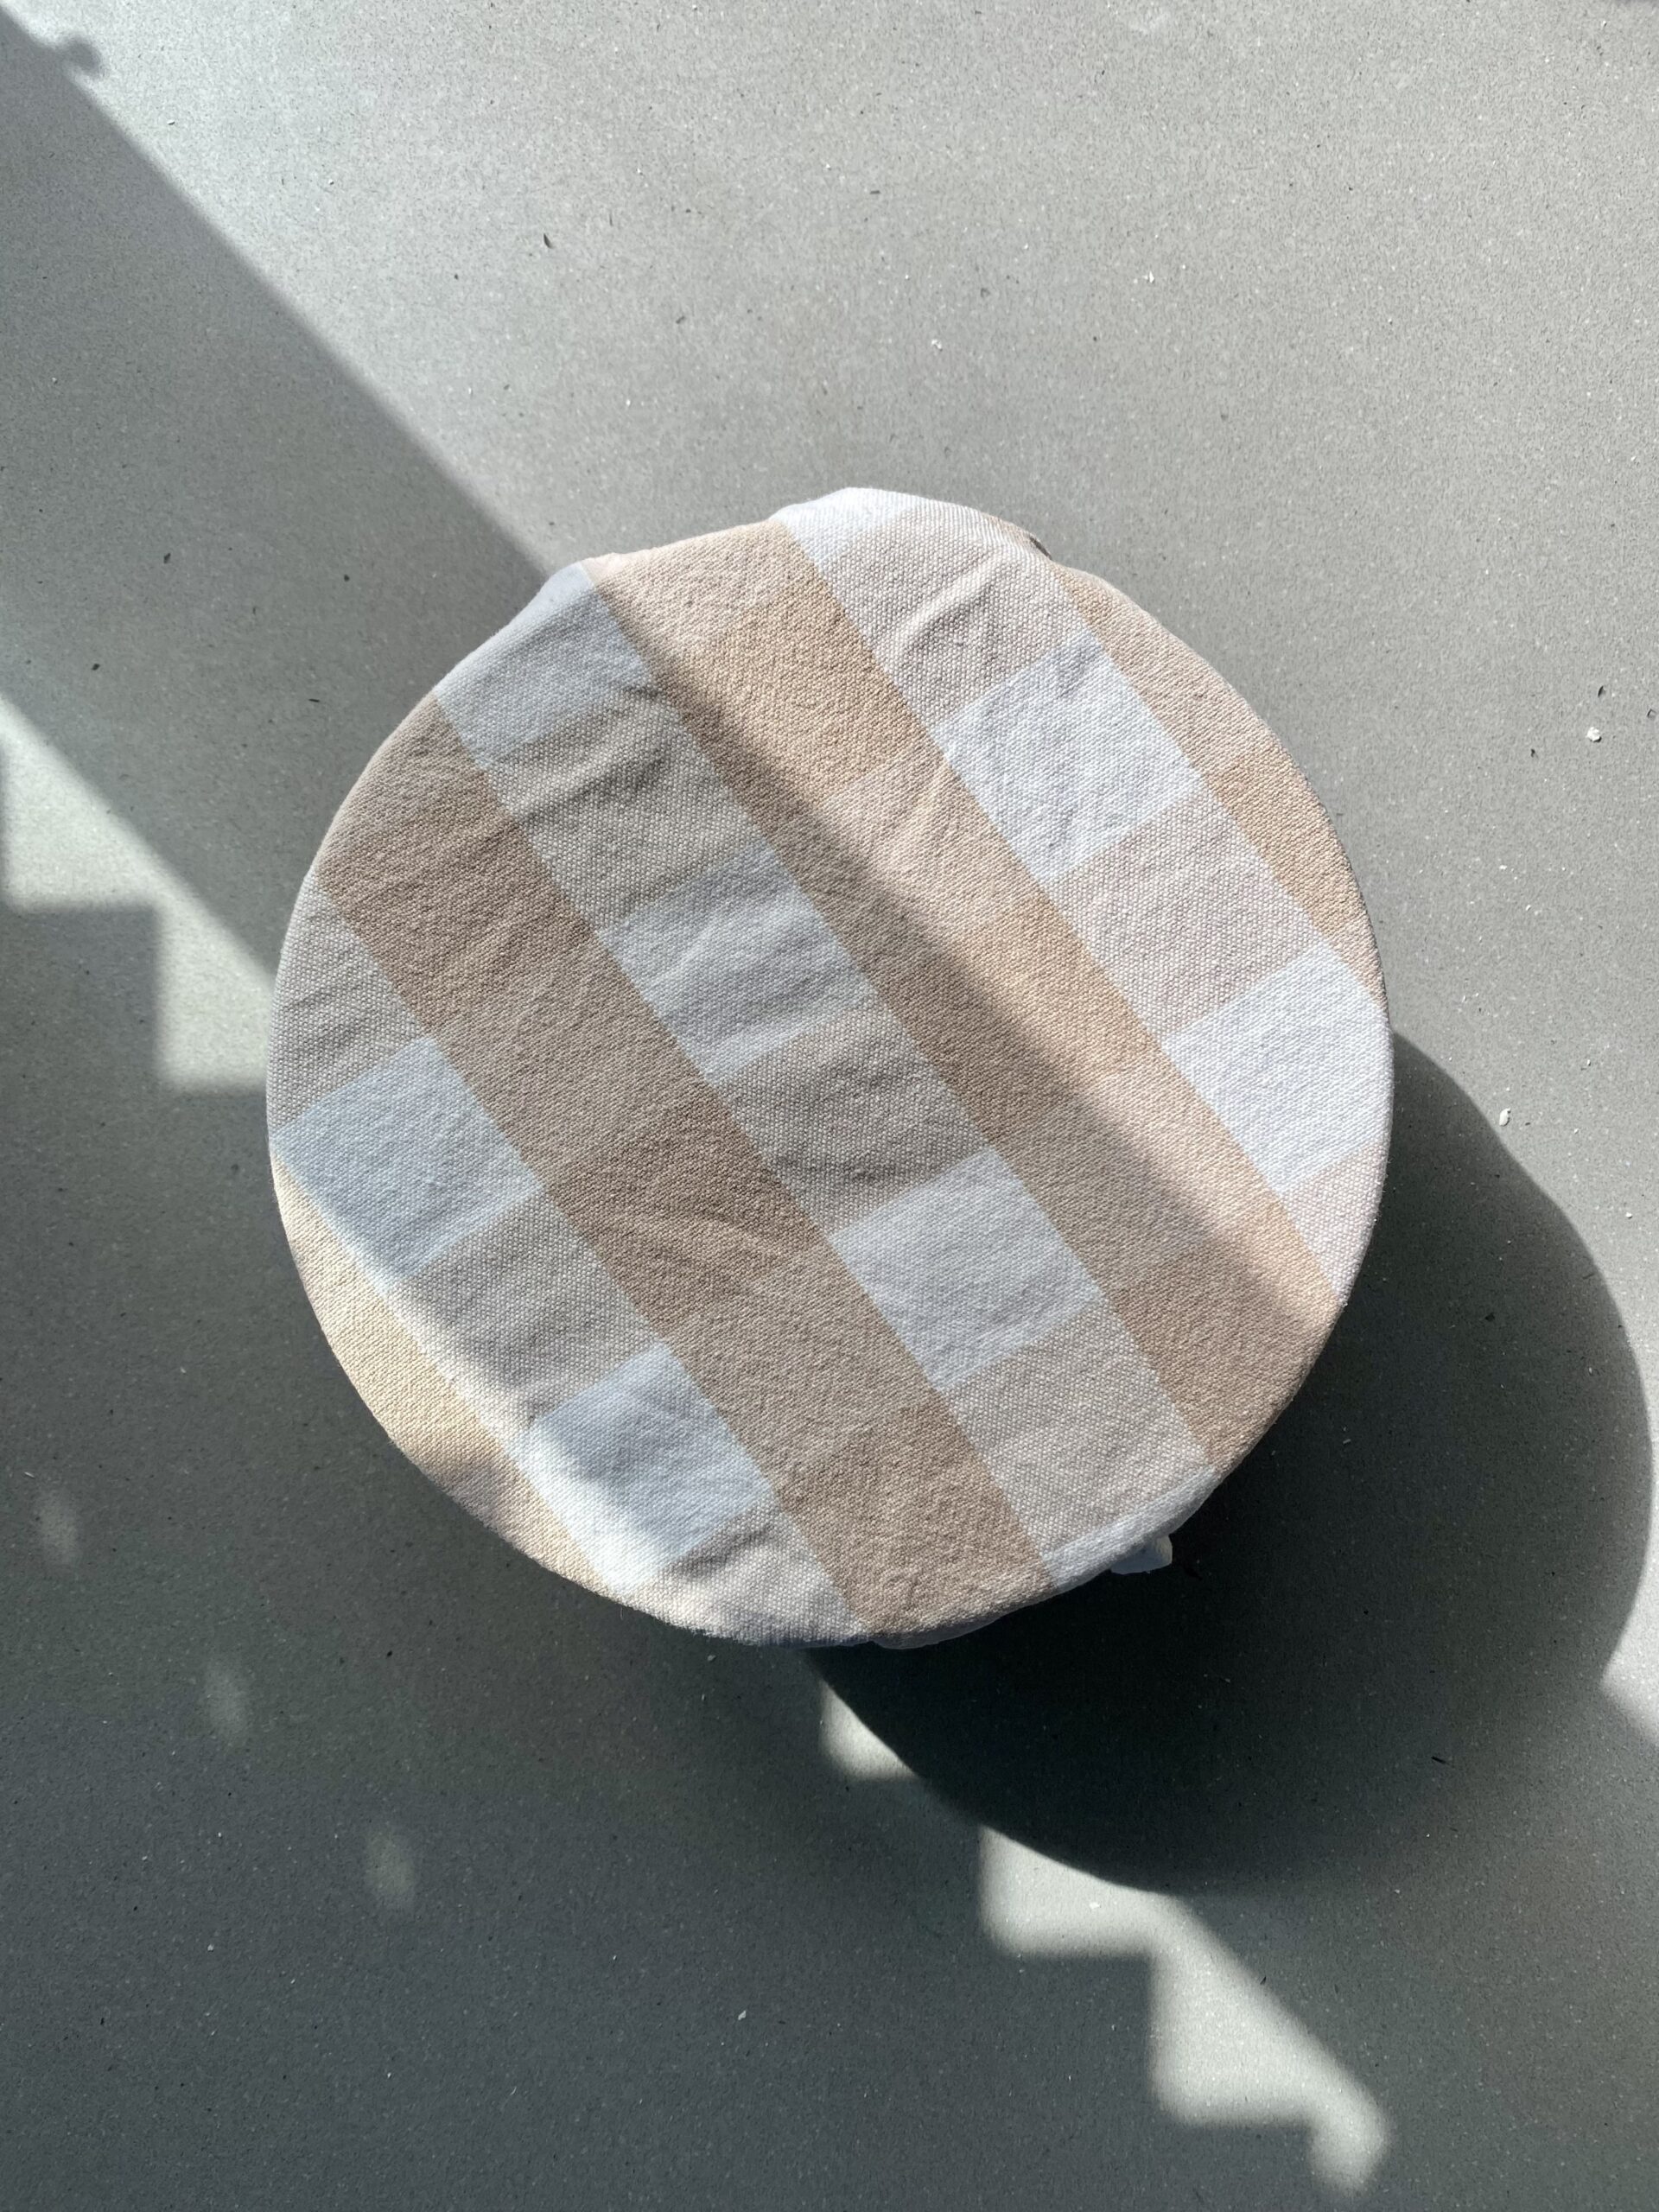
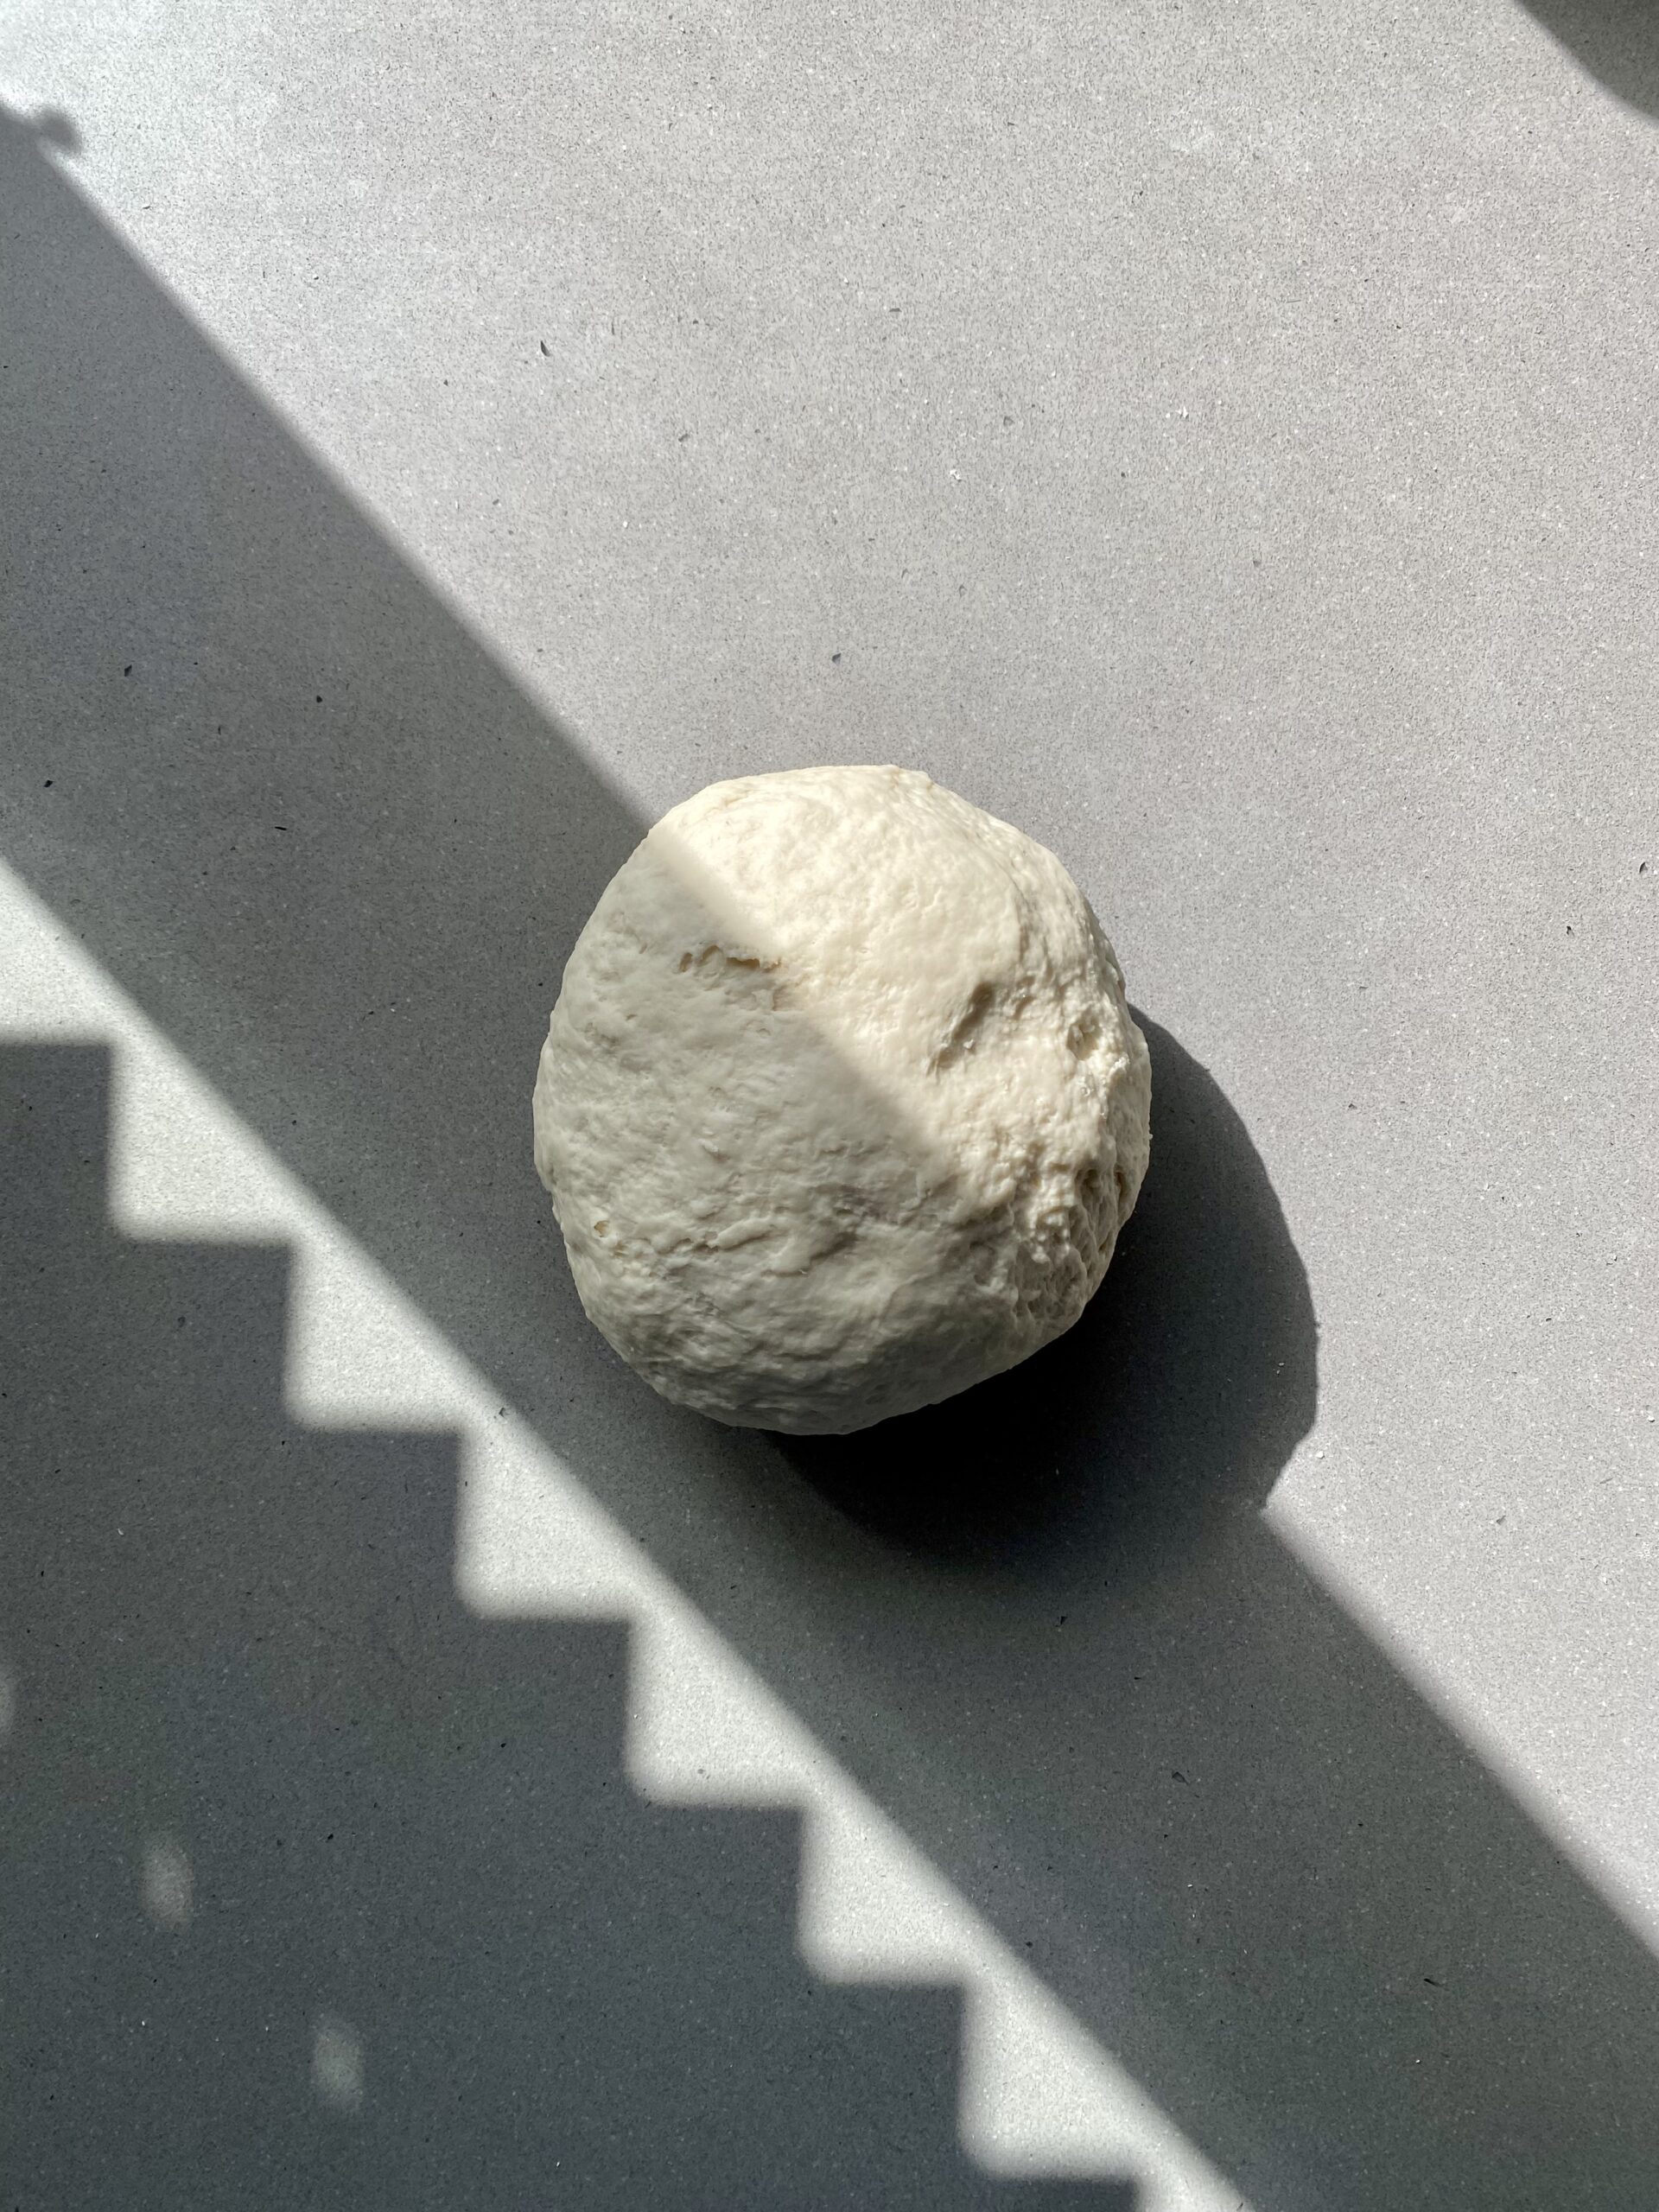
- Step 3: Transfer dough to a large greased bowl. Cover and let sit until doubled in size, about 1 hour.
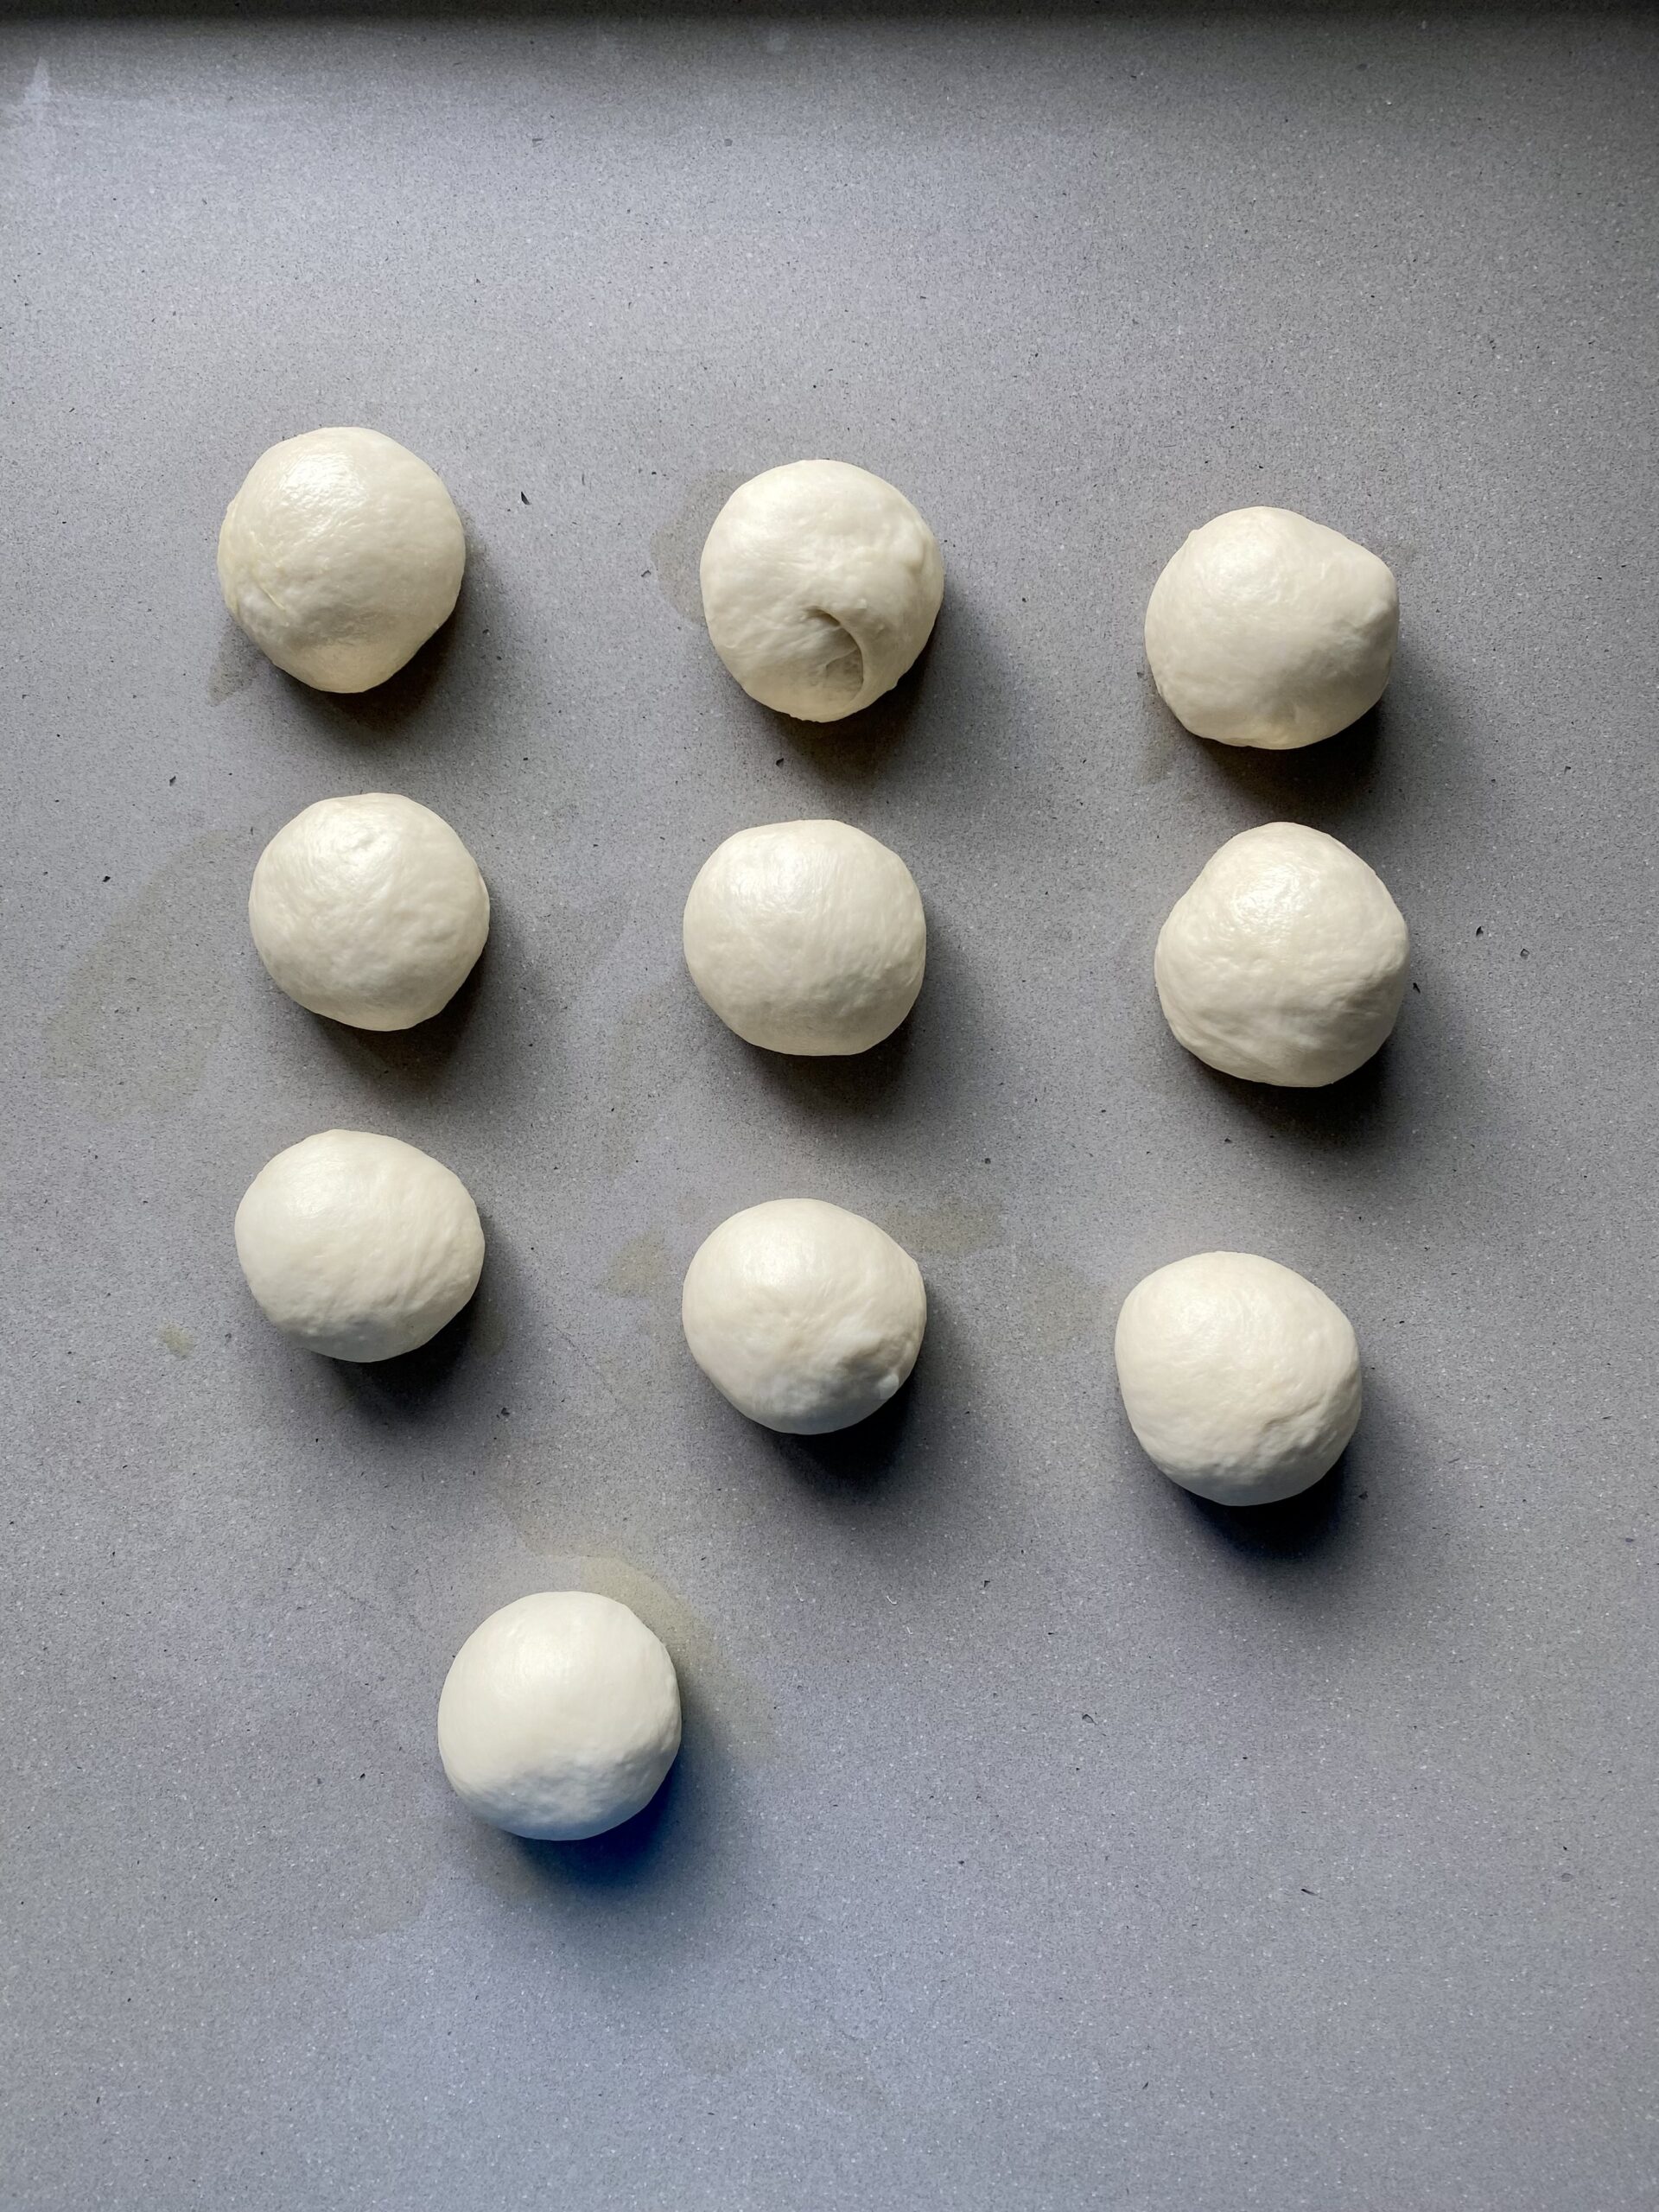
- Step 4: Divide the dough into 10 equal pieces (about 90-100g each). Roll each piece into a ball.
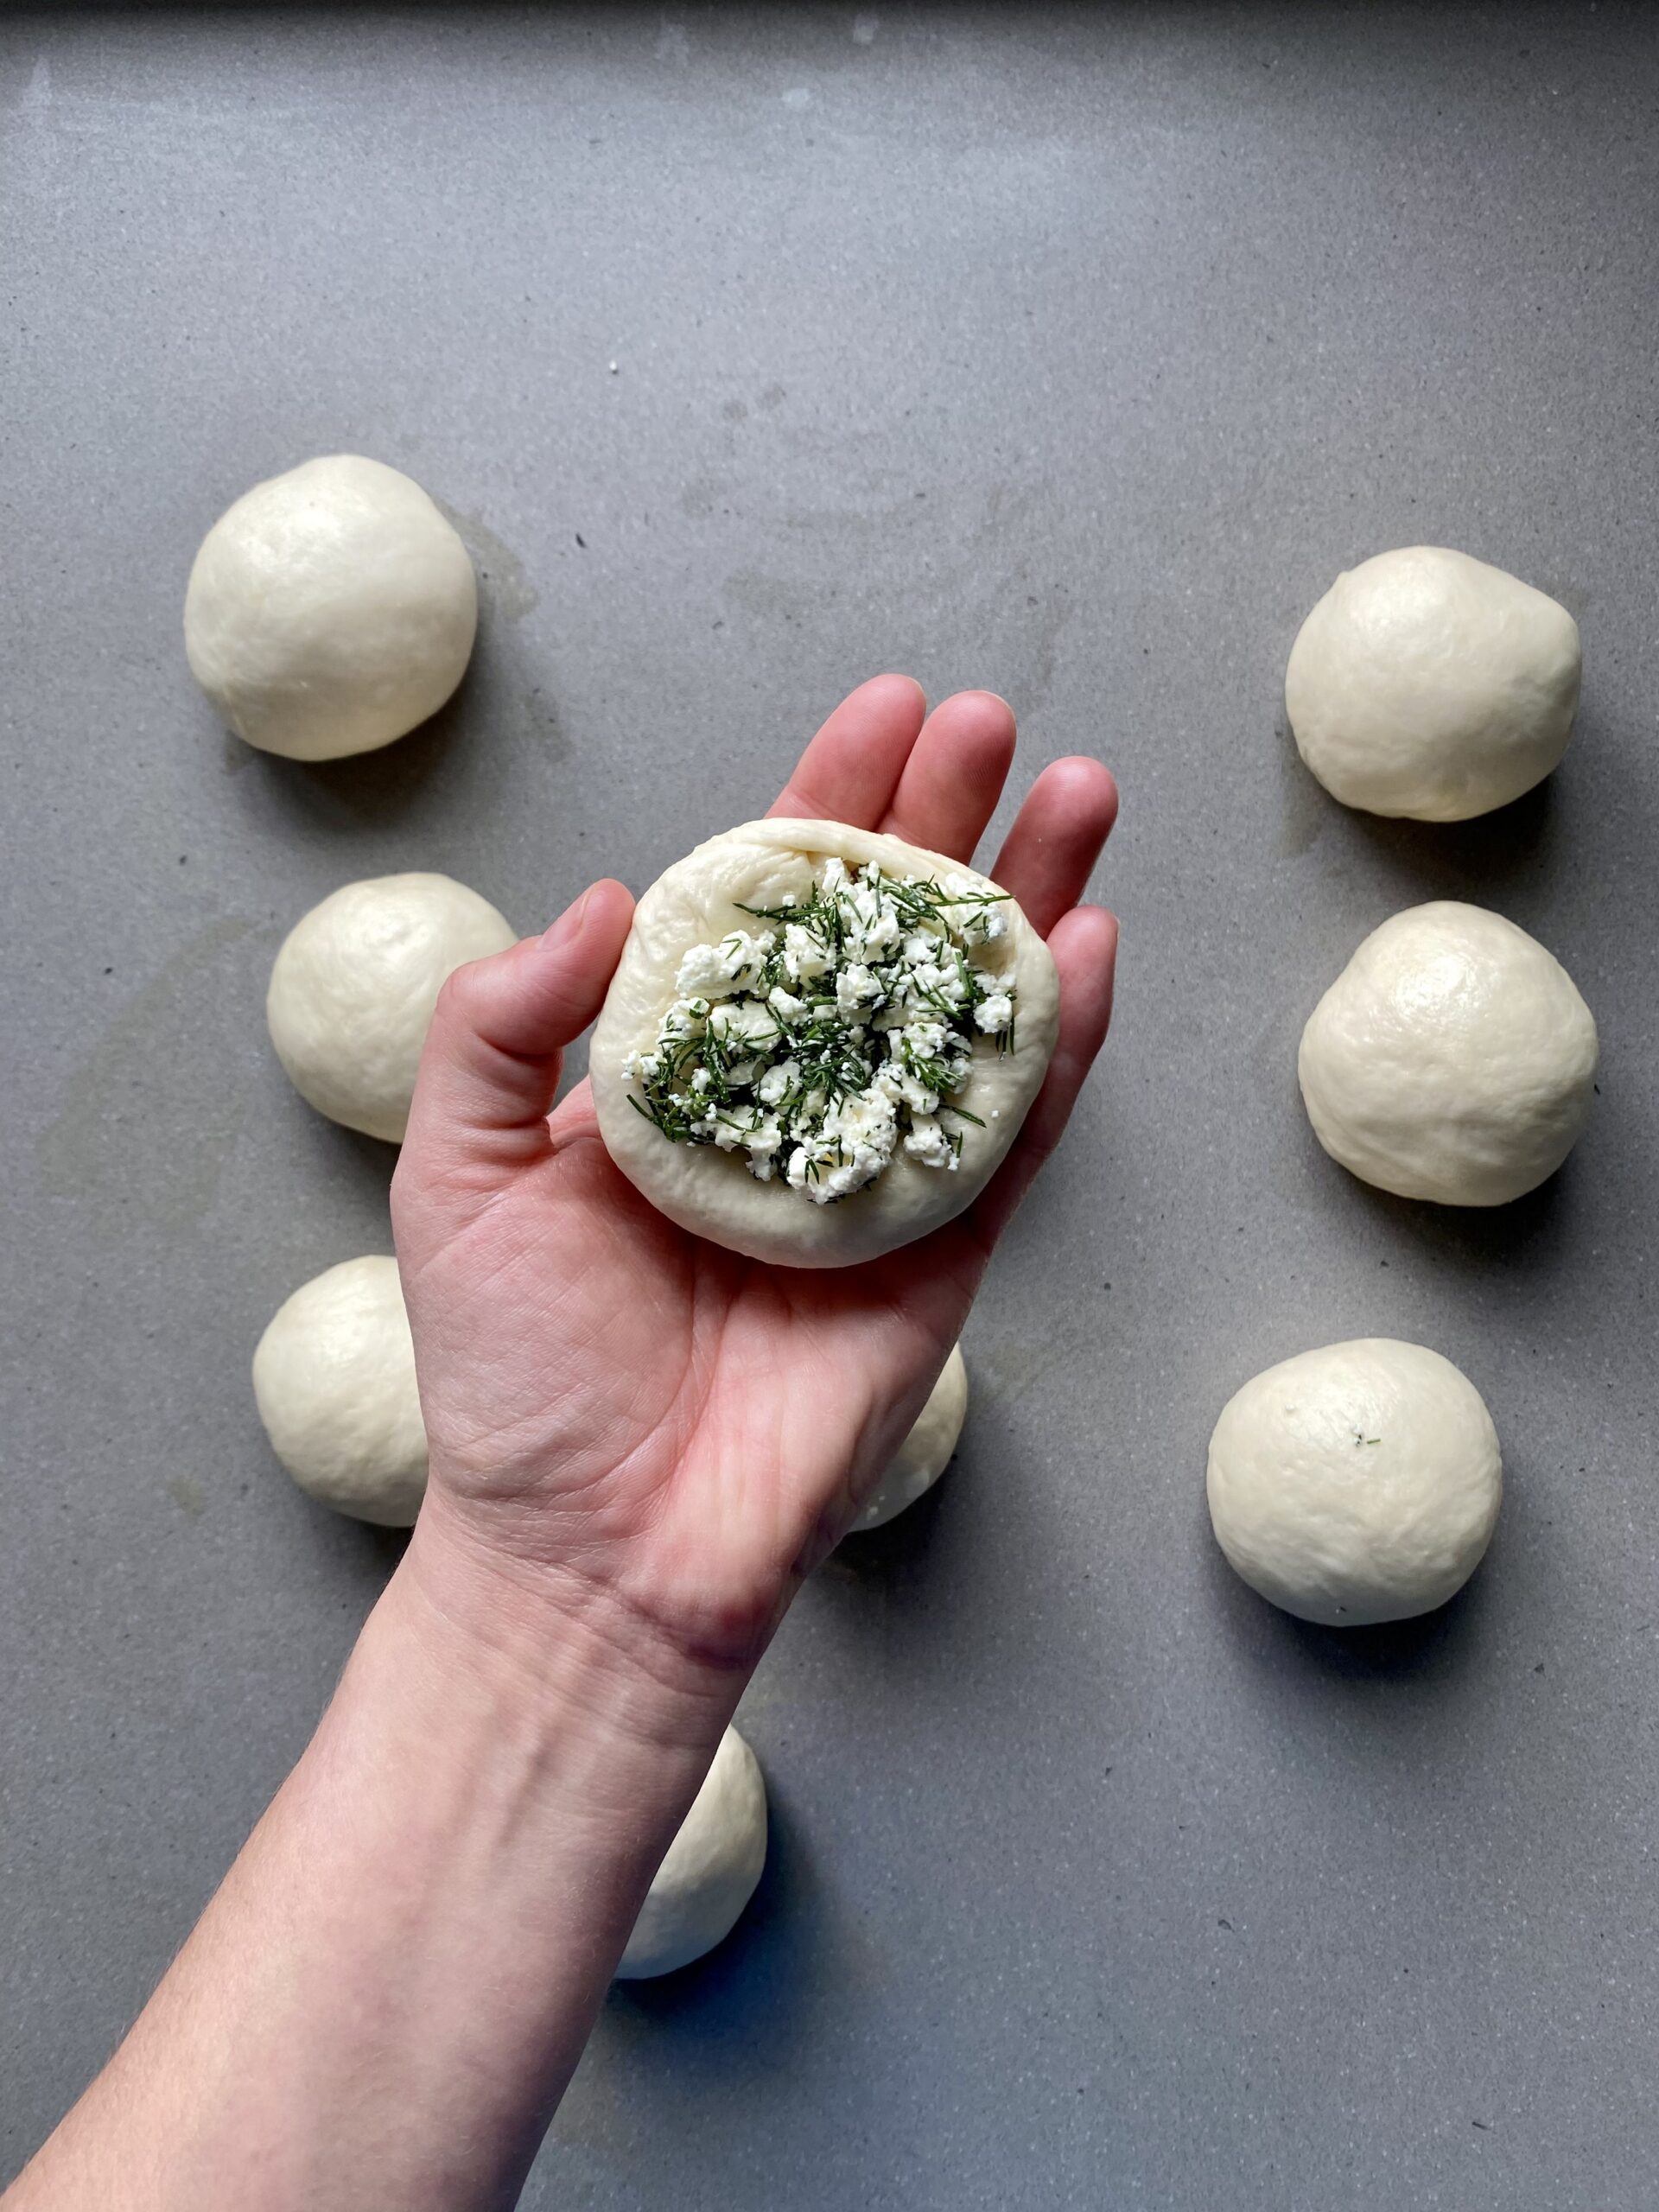
- Step 5: Working with 1 ball at a time, gentle press your thumbs into the middle to form a bowl shape. Add 1 tablespoon of the feta & dill mixture to the middle of the dough ball.
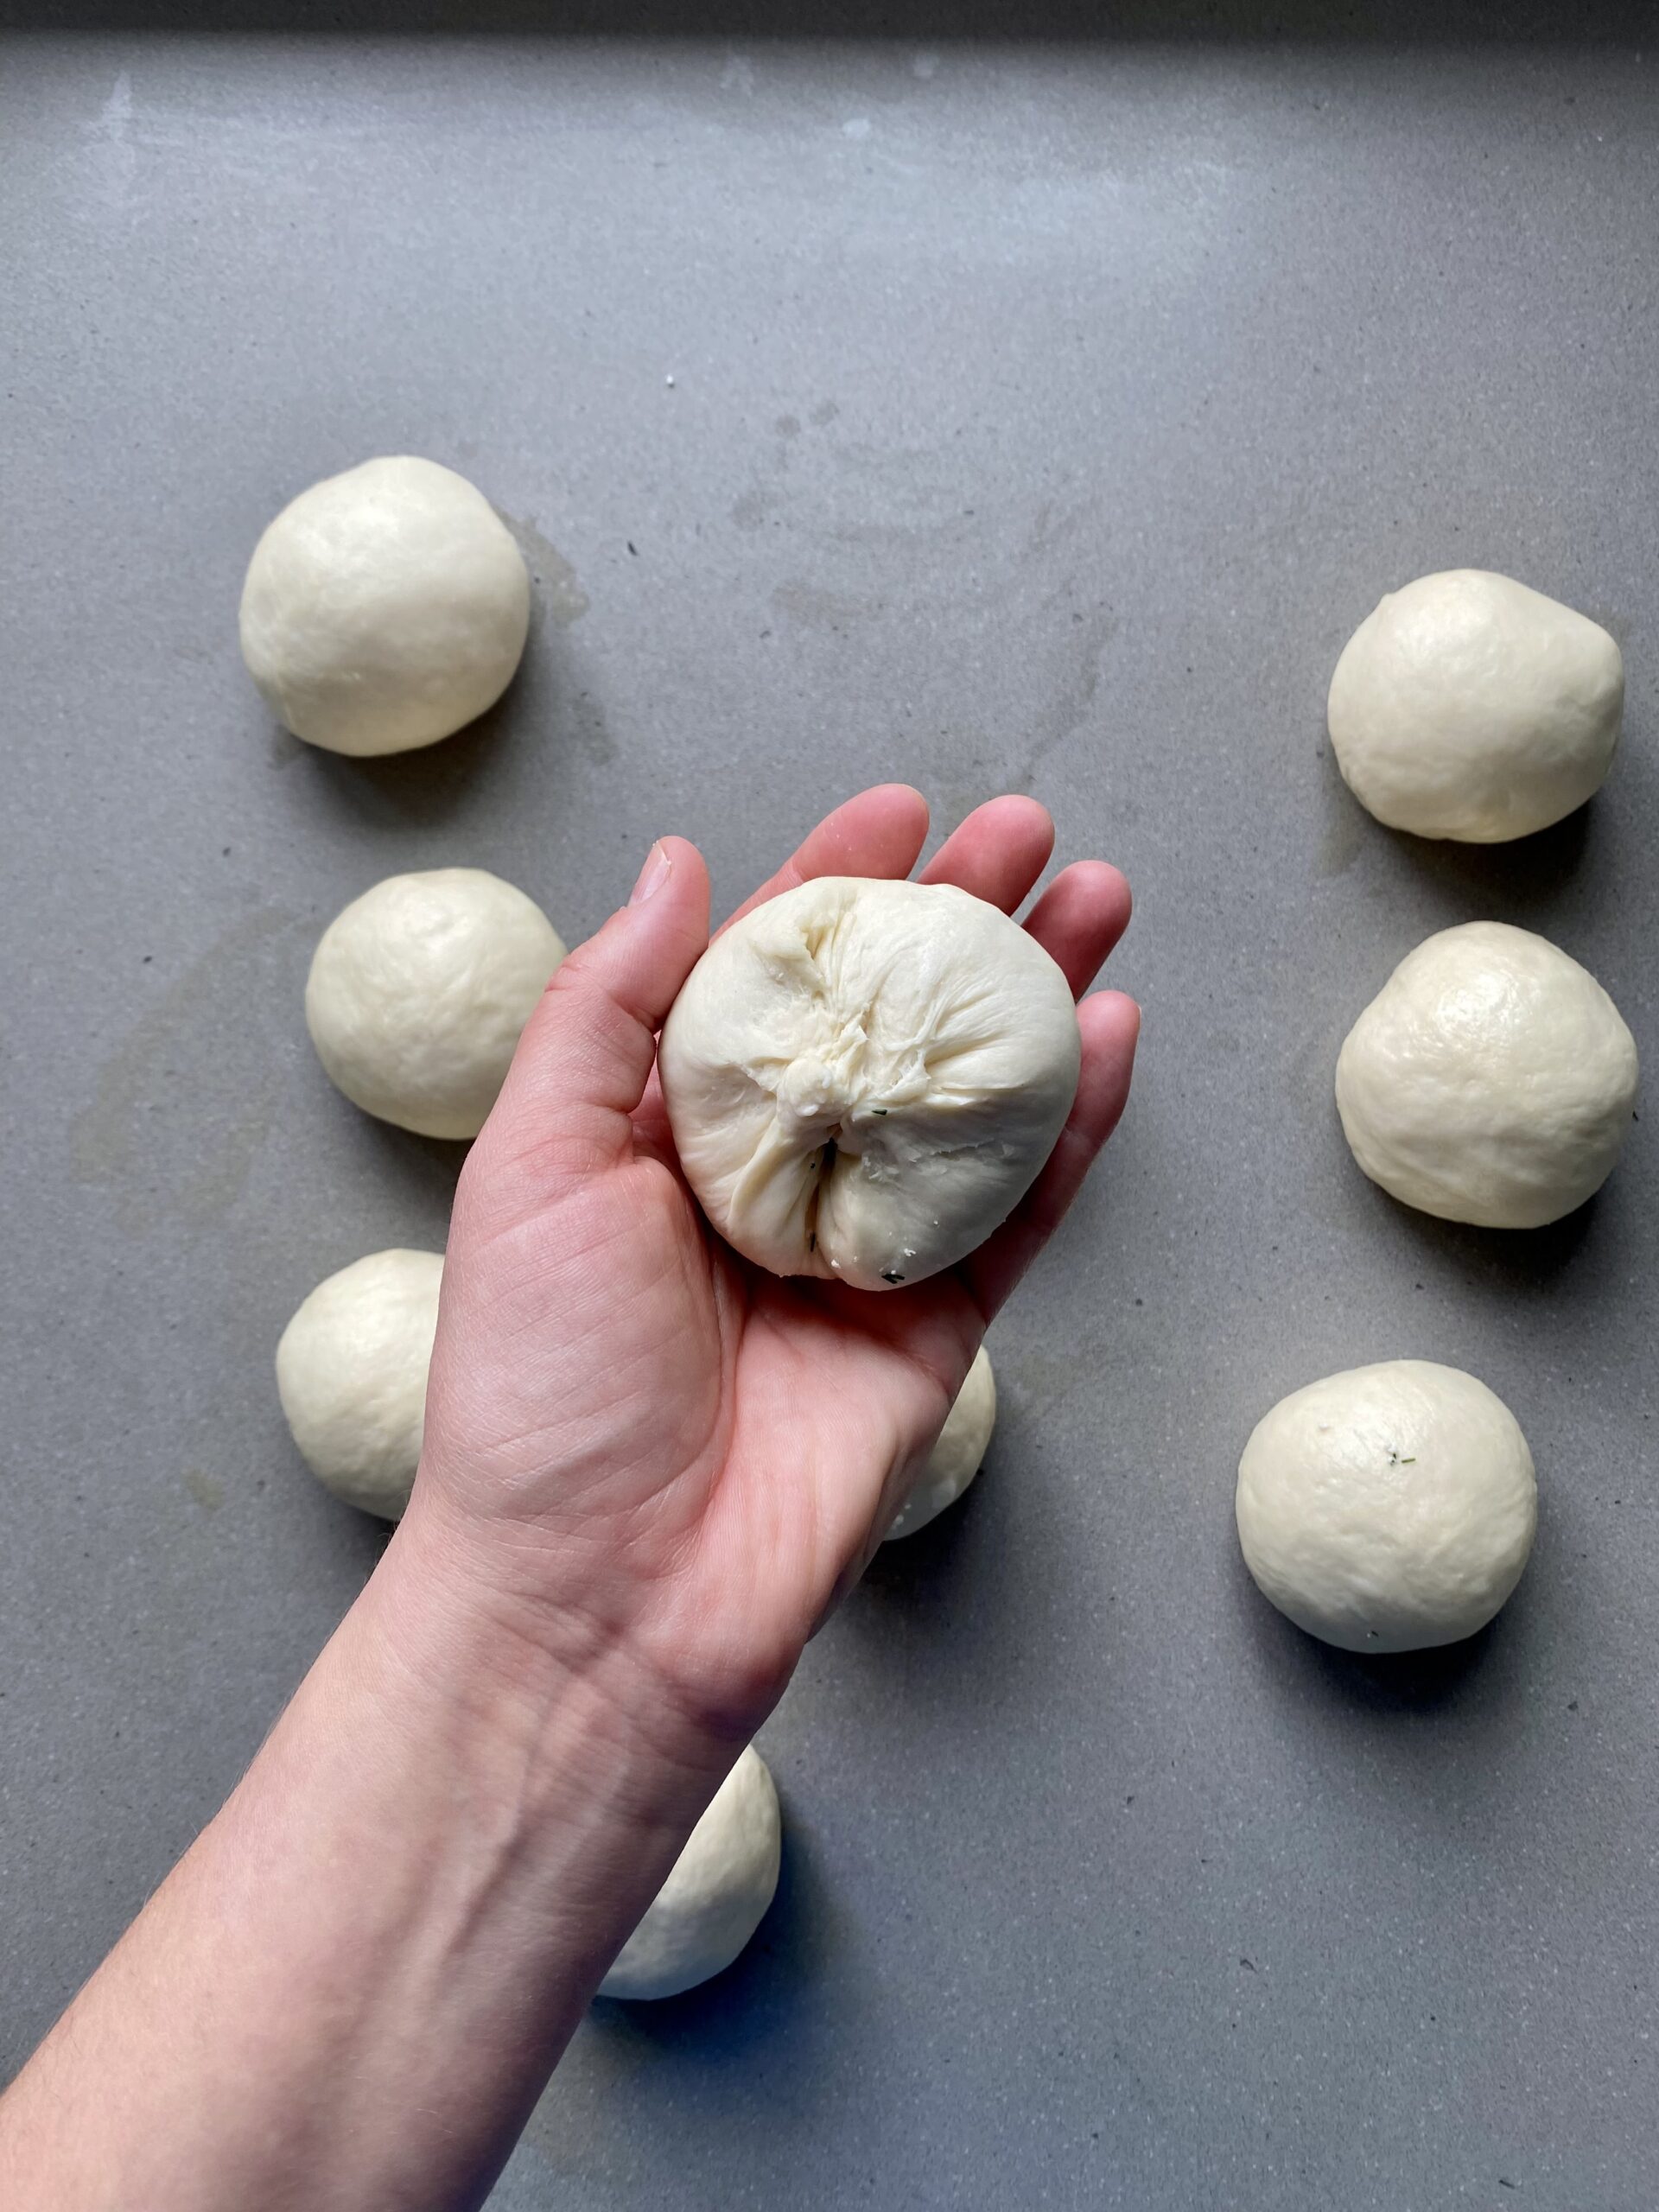
- Step 6: Gently pinch the edges back together to lock the stuffing inside. Roll the stuffed ball back into a ball, and repeat with the remaining balls.
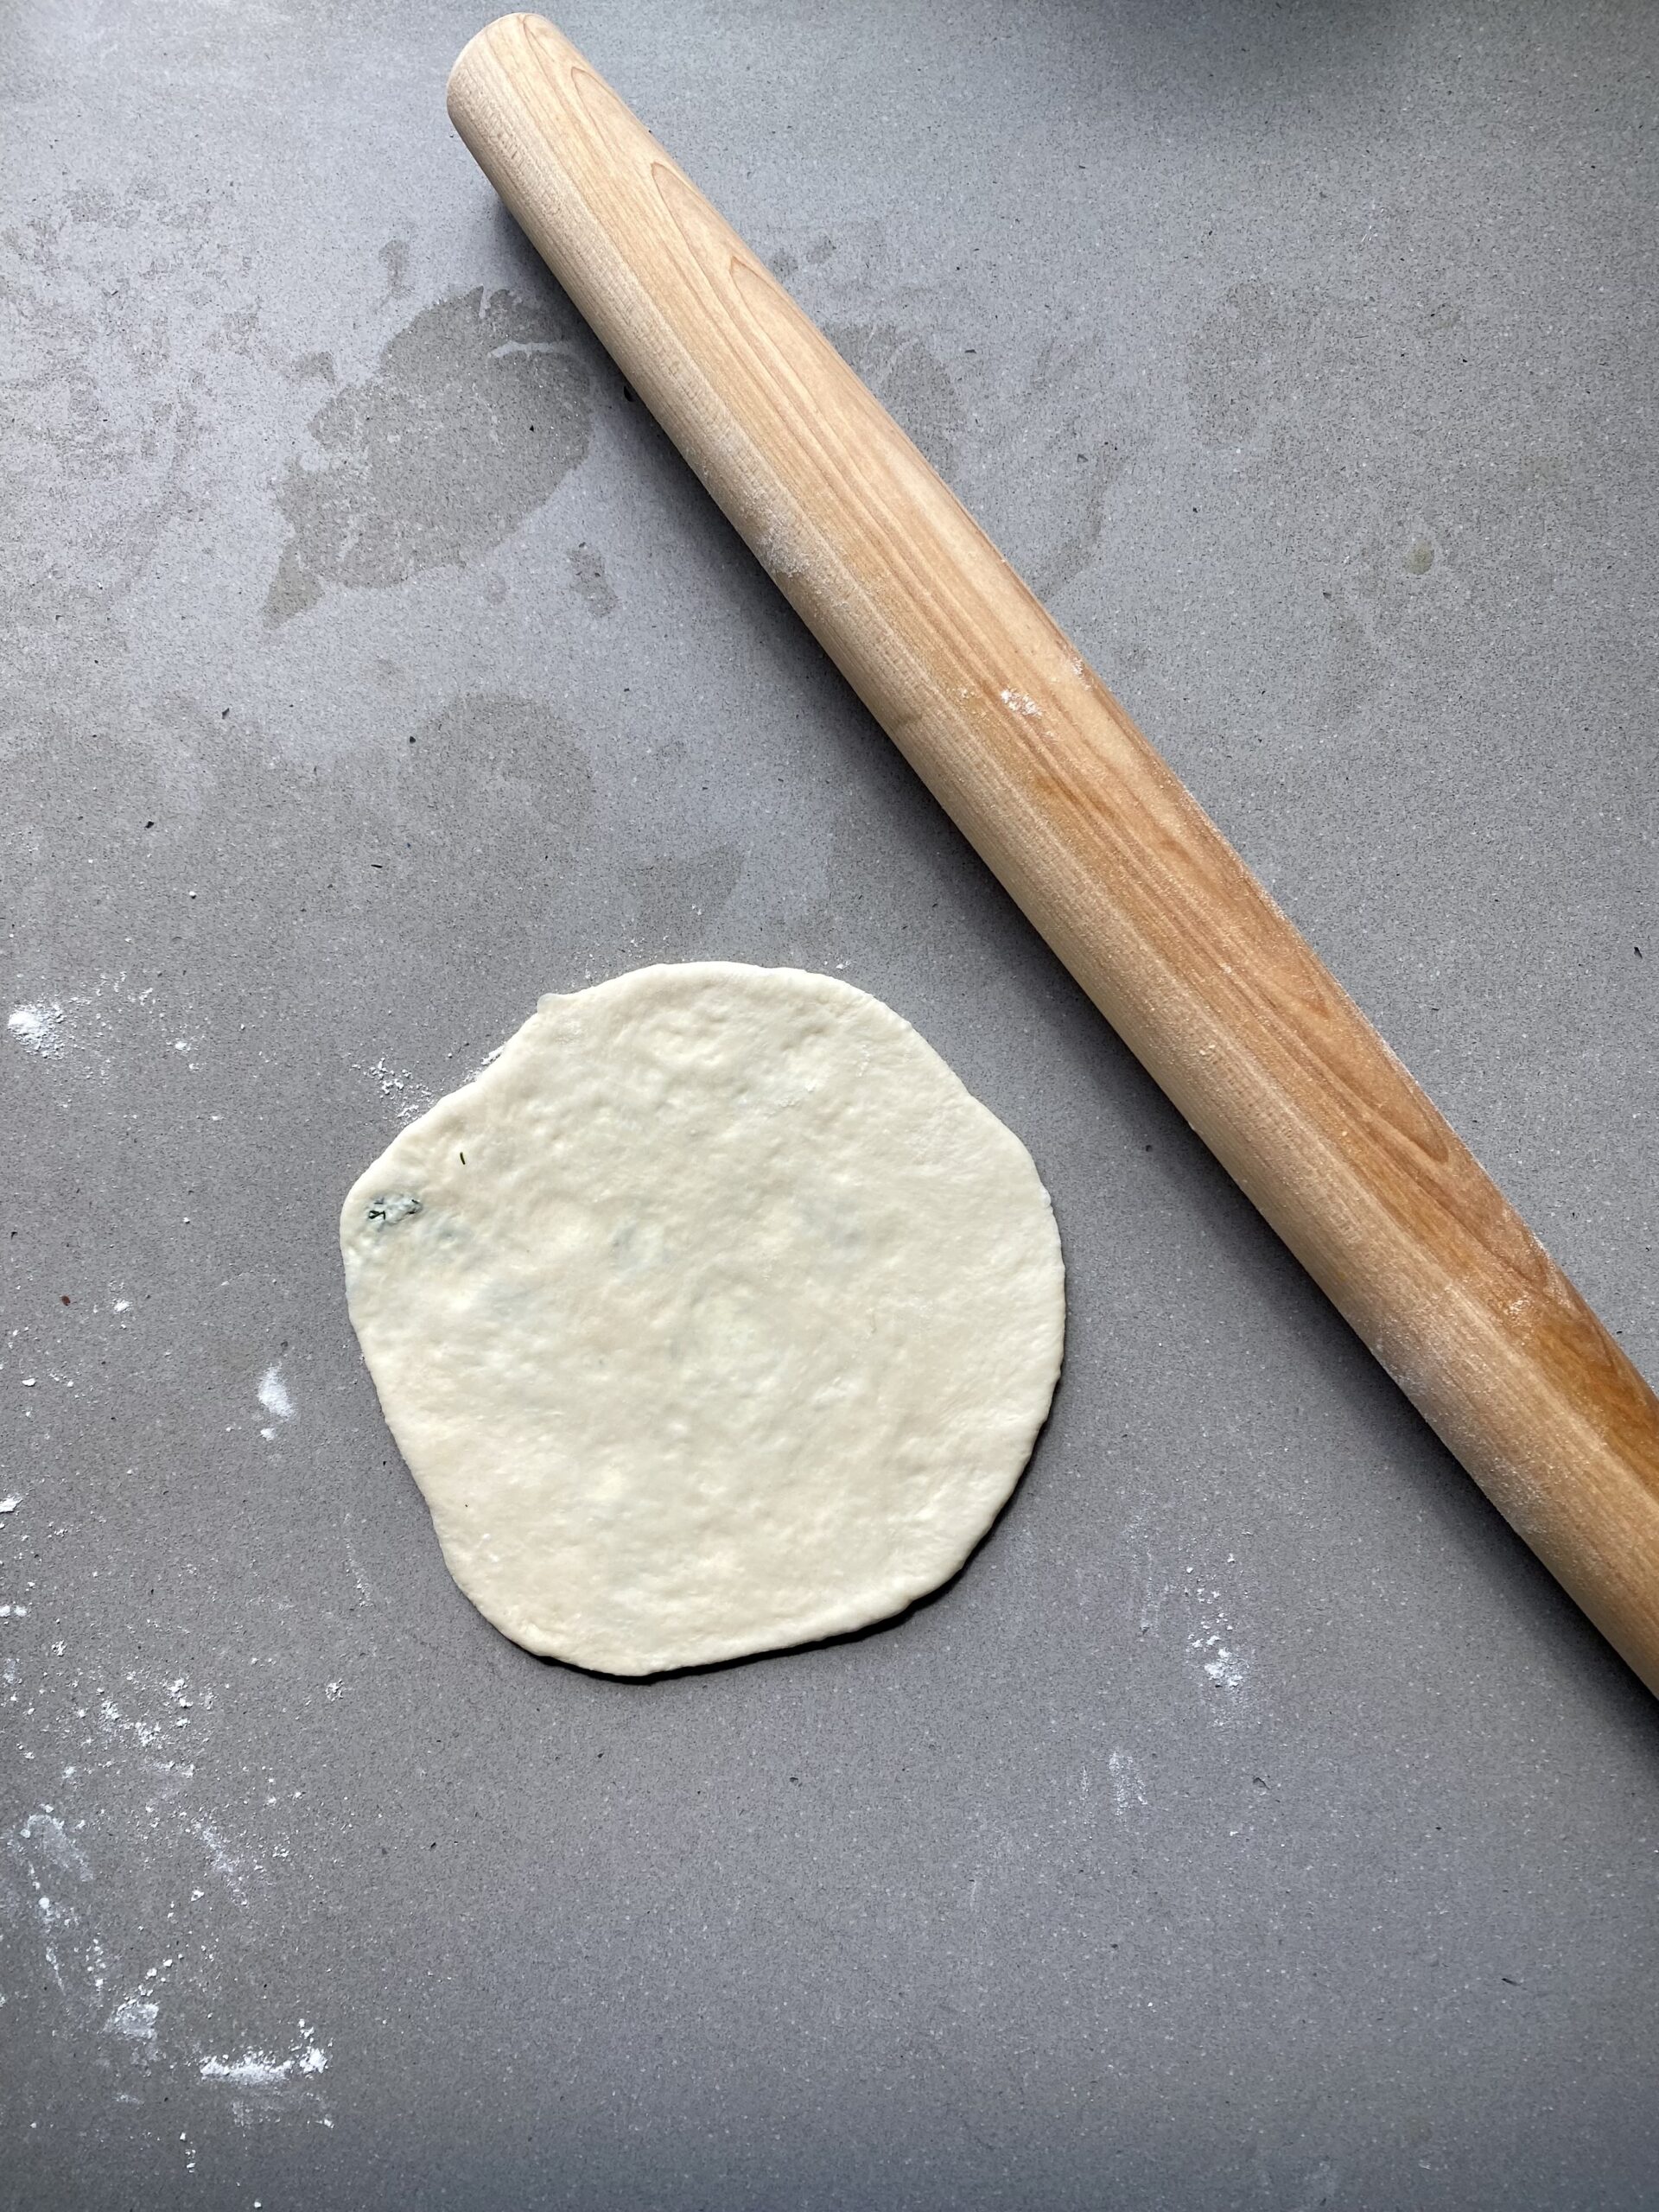
- Step 7: Use your hands or a rolling pin to shape the balls into discs, about 6" in diameter. They don't have to be perfect circles.

- Step 8: Brush each side of the pita with a little bit of oil, then transfer to a pan over medium heat.
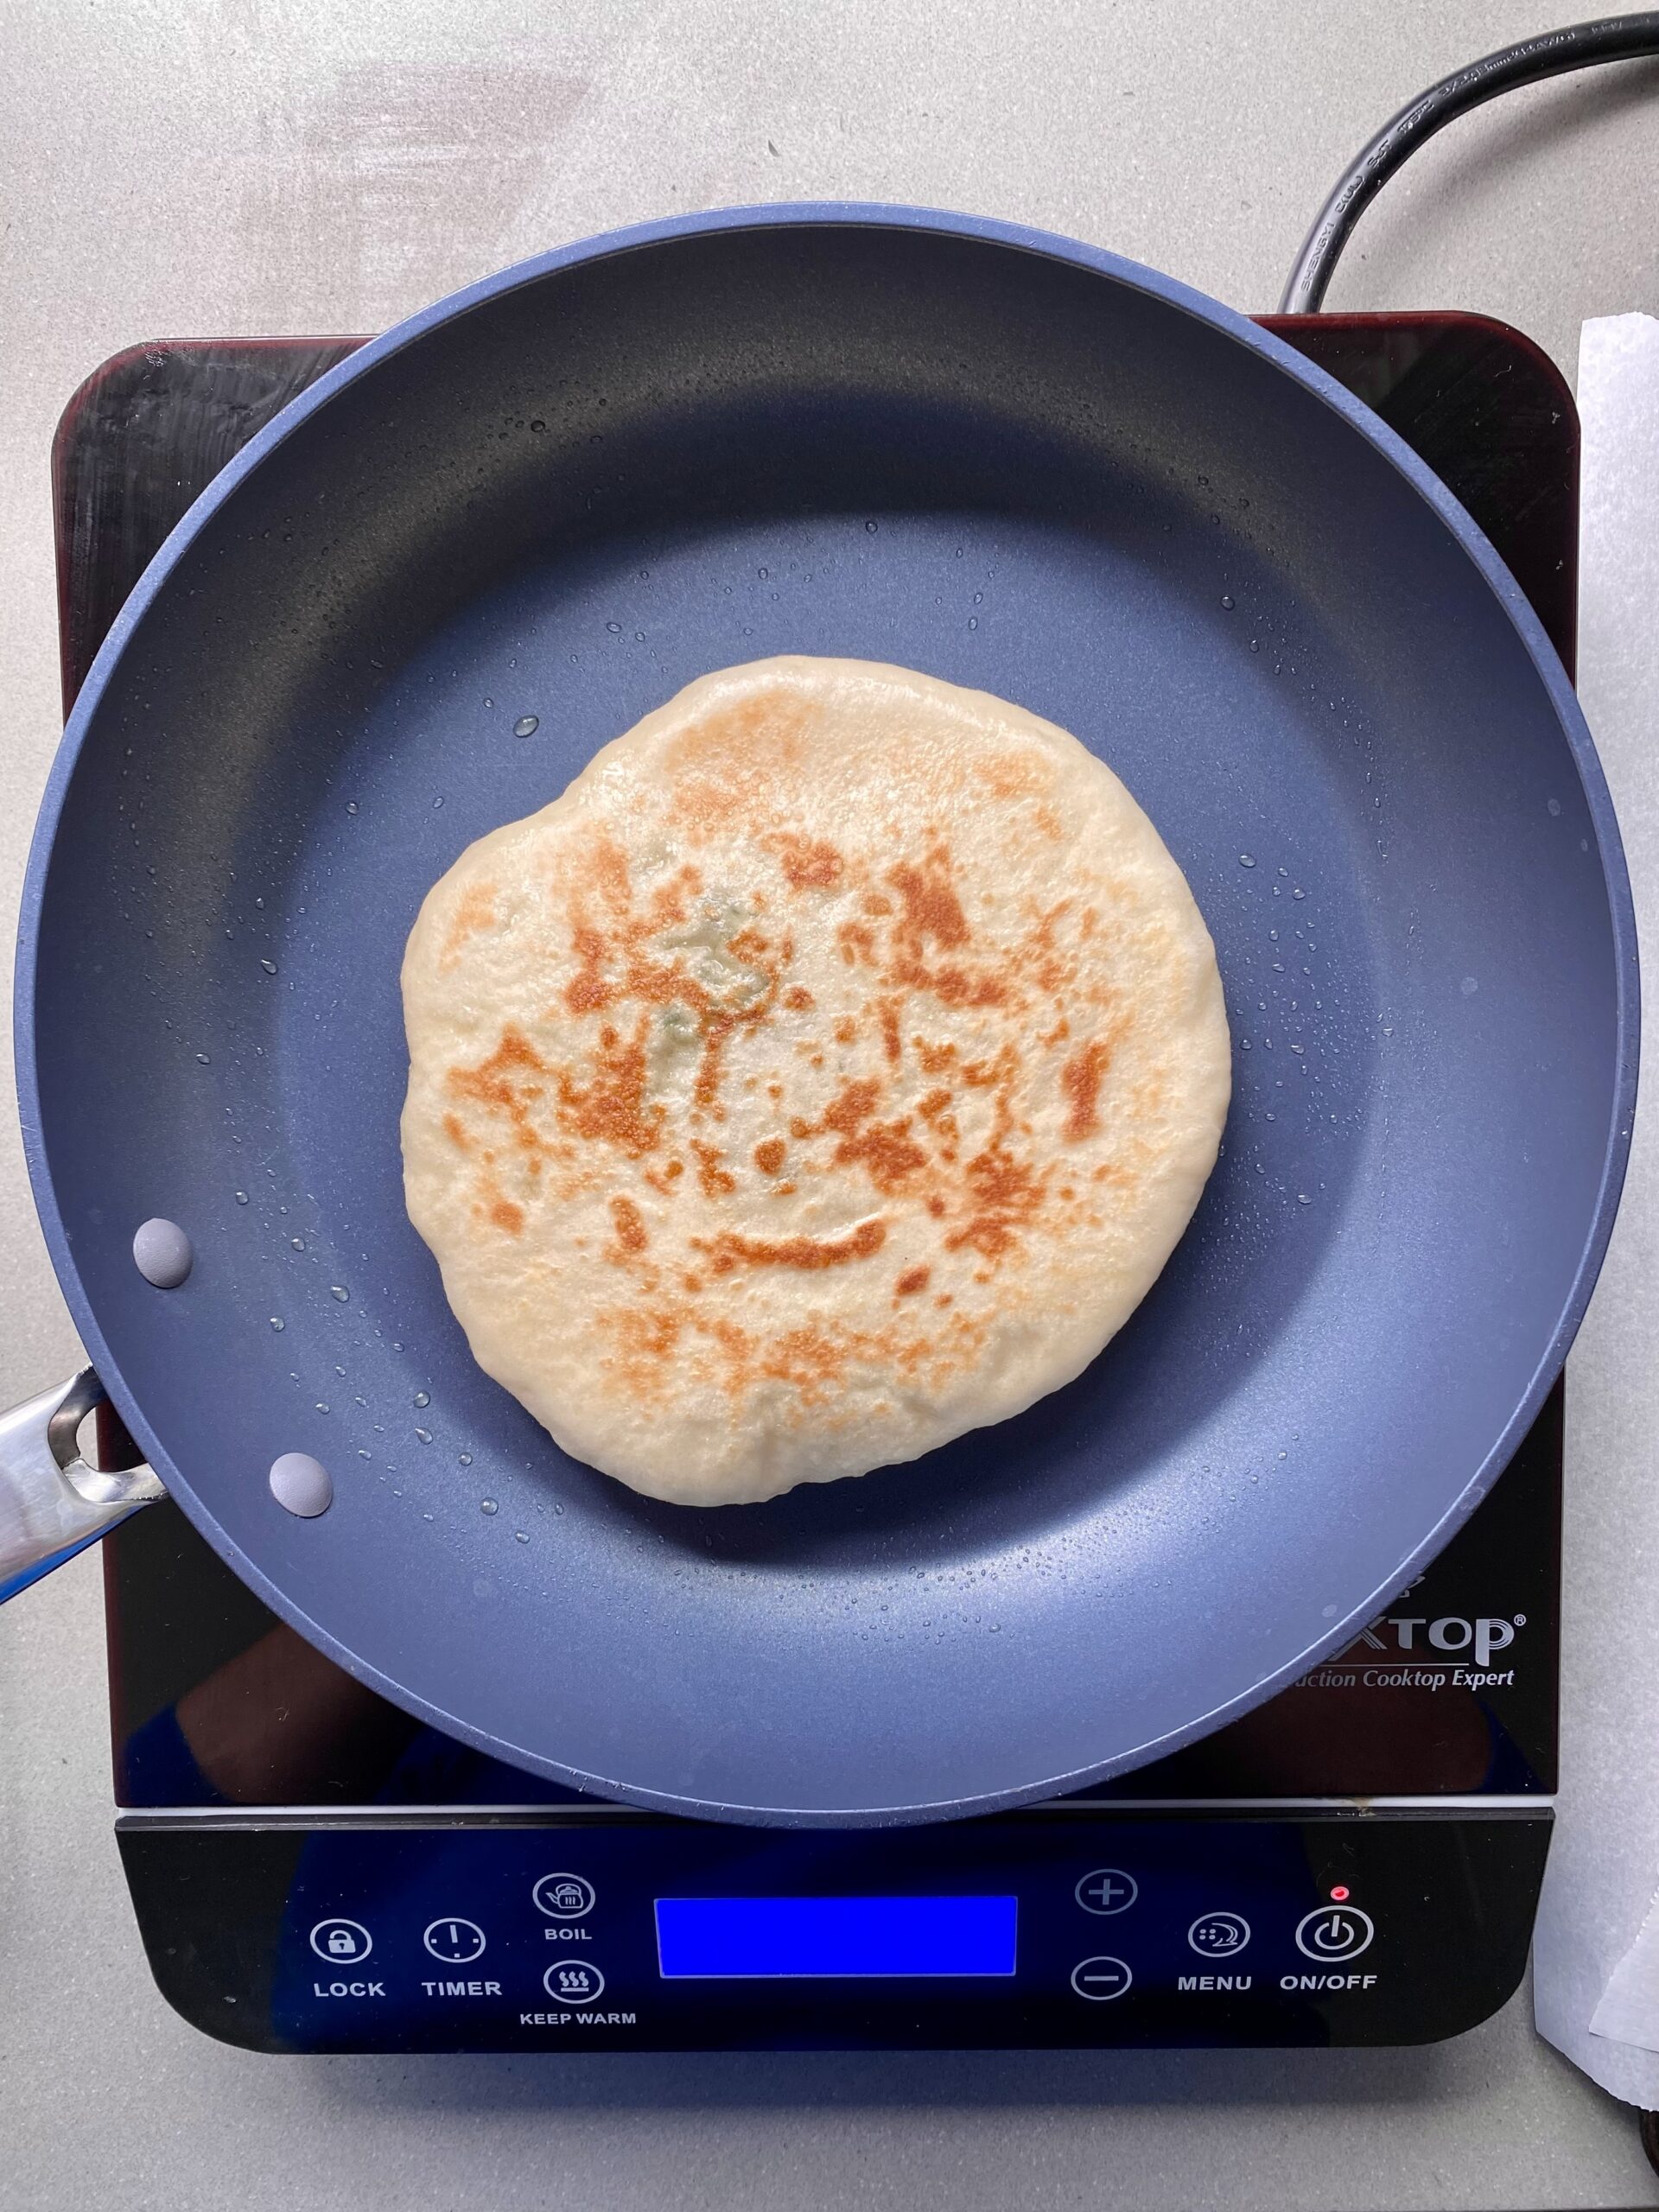
- Step 9: Cook each side until golden brown. The first pita will take the longest.
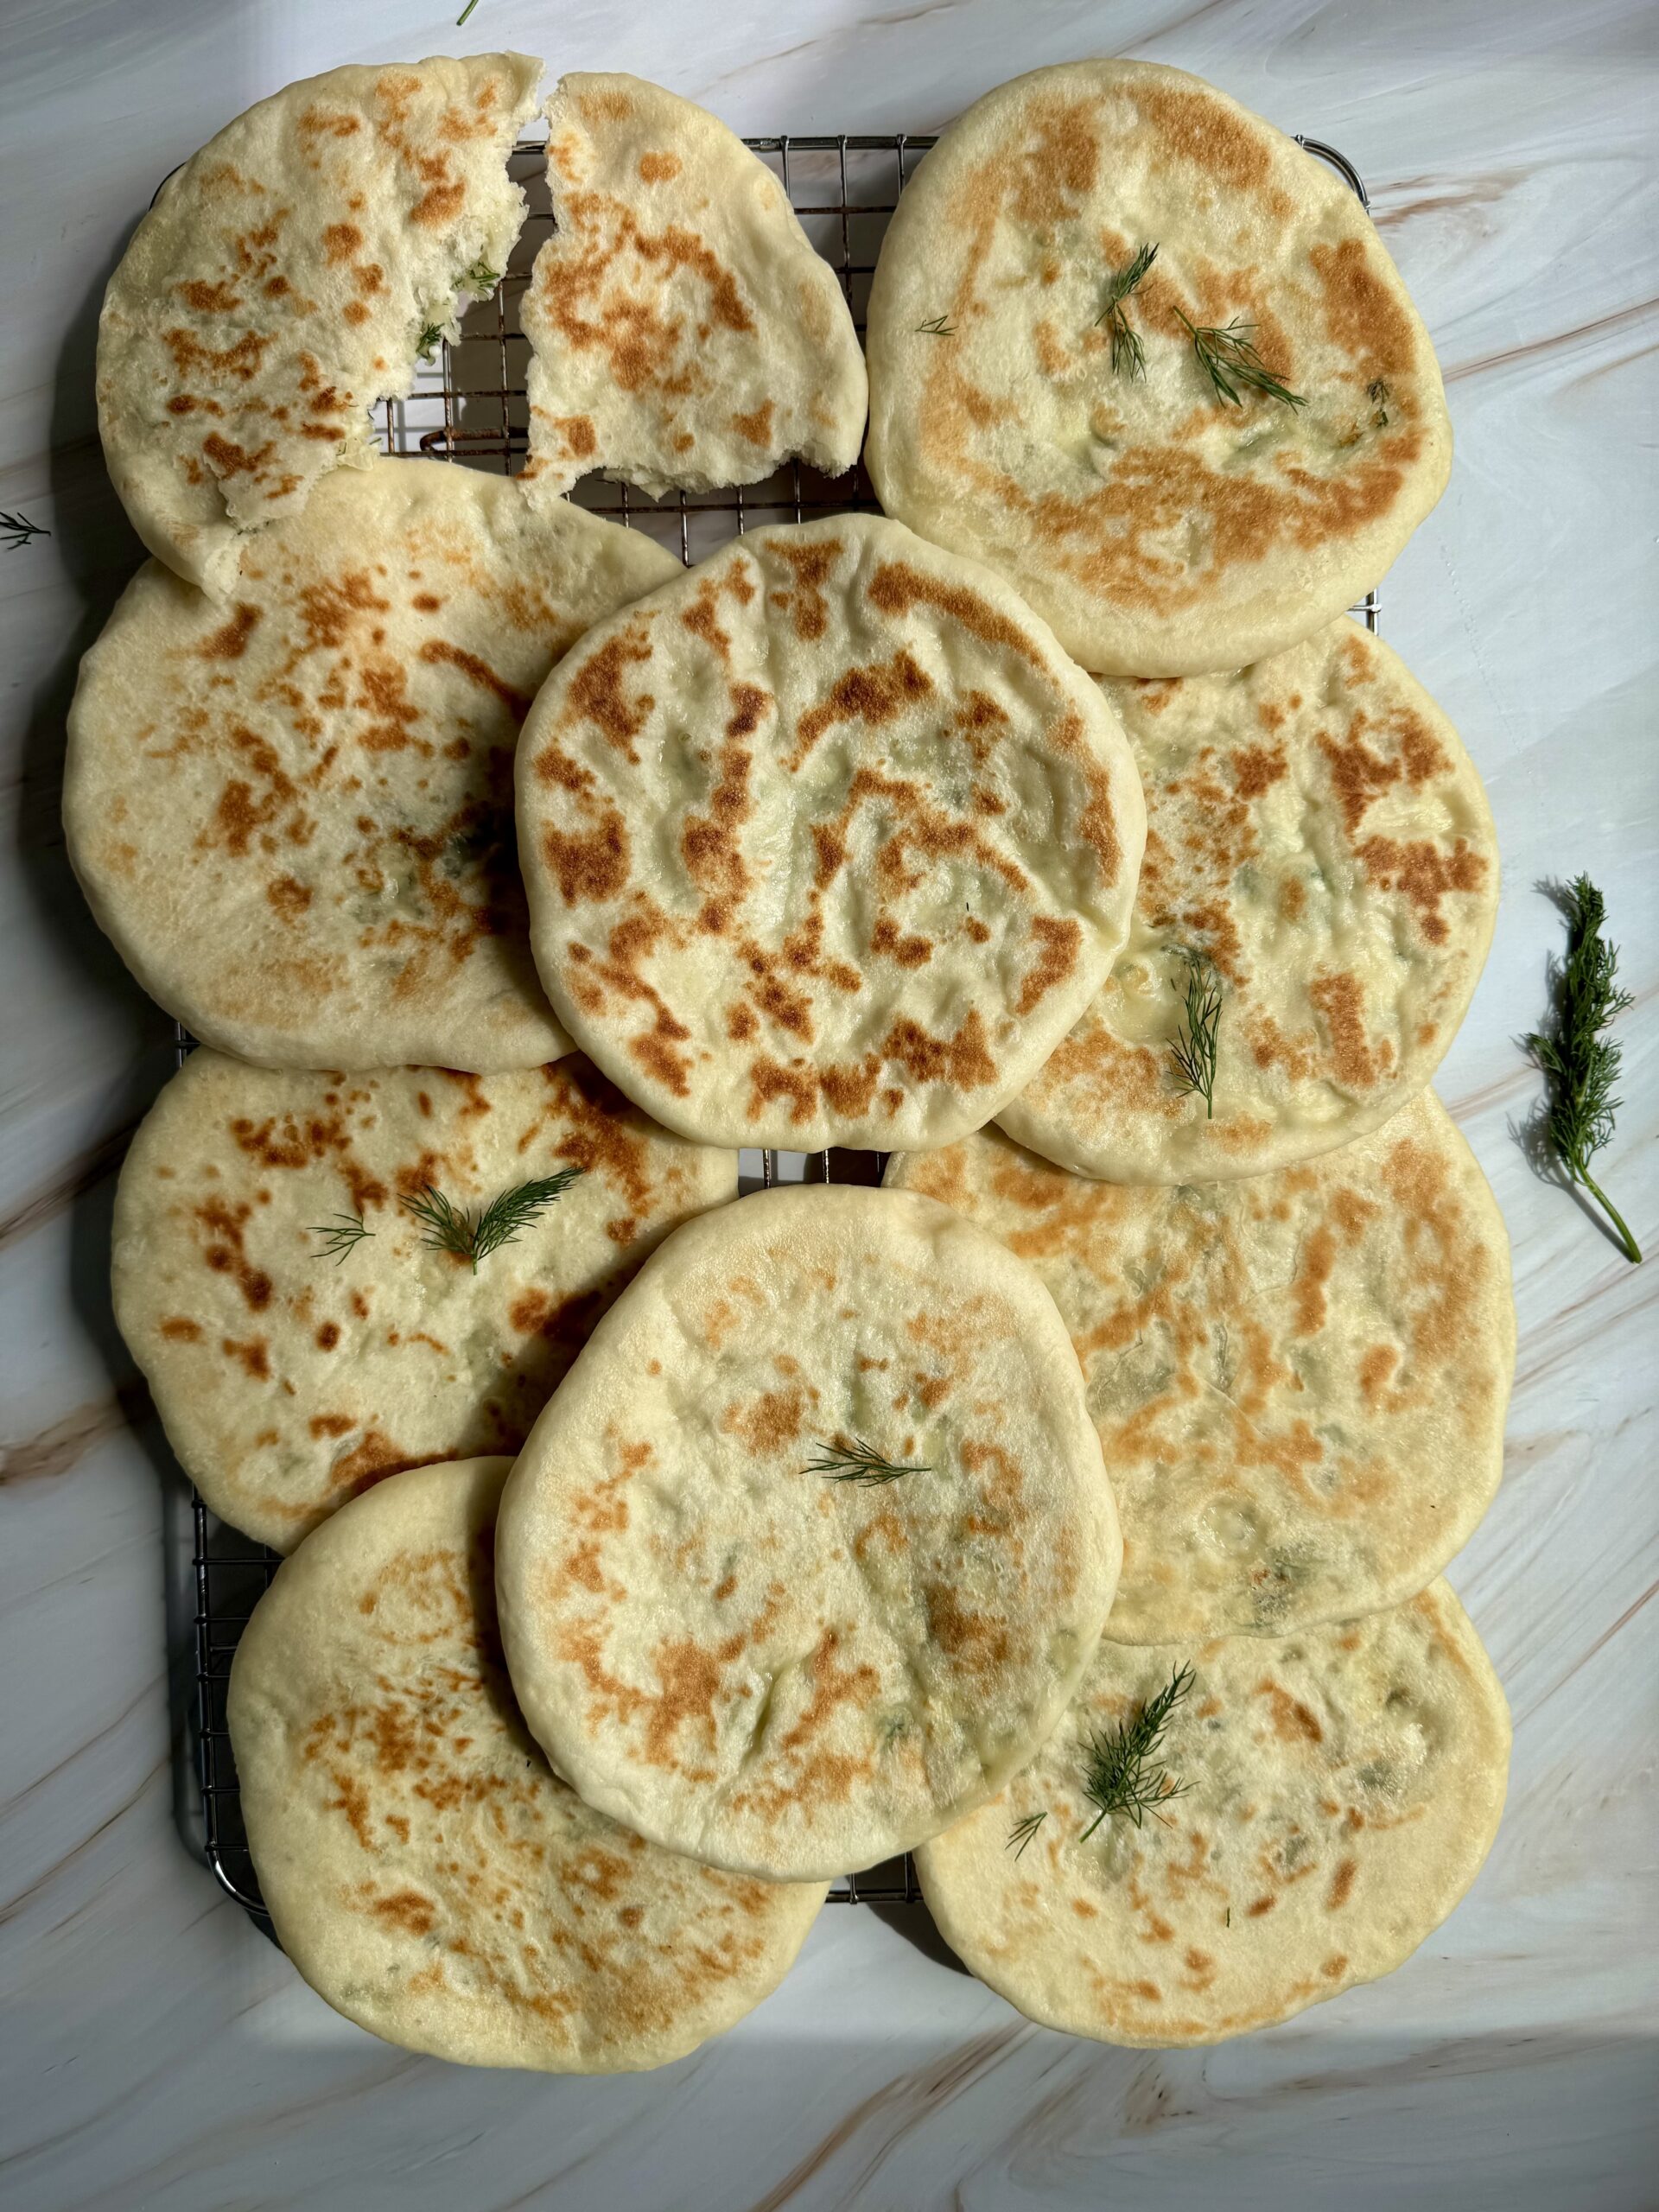
- Step 10: Transfer to a wire rack to cool.
What to Serve with Greek Pitas
Here are some tasty pairing ideas to go along with these feta & dill stuffed pitas:
- Dips: dip these pitas in tzatziki, hummus, jalapeño avocado dip, or whipped ricotta dip.
- Toppings: to make it a meal, I like to serve it with grilled halloumi, grilled/roasted vegetables, and pickled onions.
- Salads: serve alongside a high protein pasta salad, a Greek salad, or a pesto orzo salad.
- Soups & Curries: enjoy on the side with my butter halloumi curry, red lentil coconut curry, or carrot apple soup.
Dill & Feta Stuffed Greek Pita FAQs
It’s a pita bread filled with a mixture of feta cheese and fresh dill - inspired by traditional Greek flavours.
Serve warm or room temperature with tzatziki, hummus, salad, roasted vegetables, and a protein (I like halloumi) for a complete meal.
Absolutely! You'll get some nice smokey flavour and grill marks! Grilling them works especially well if you're grilling other things for the meal, such as vegetables and protein.
Store leftovers in the refrigerator for up to 3 days. Reheat in a skillet or oven to prevent them from getting soggy.
Mix crumbled feta and chopped fresh dill in a bowl. Stuffed into the middle of your pita dough before shaping them into pita shapes, then pan fry until golden and warm.
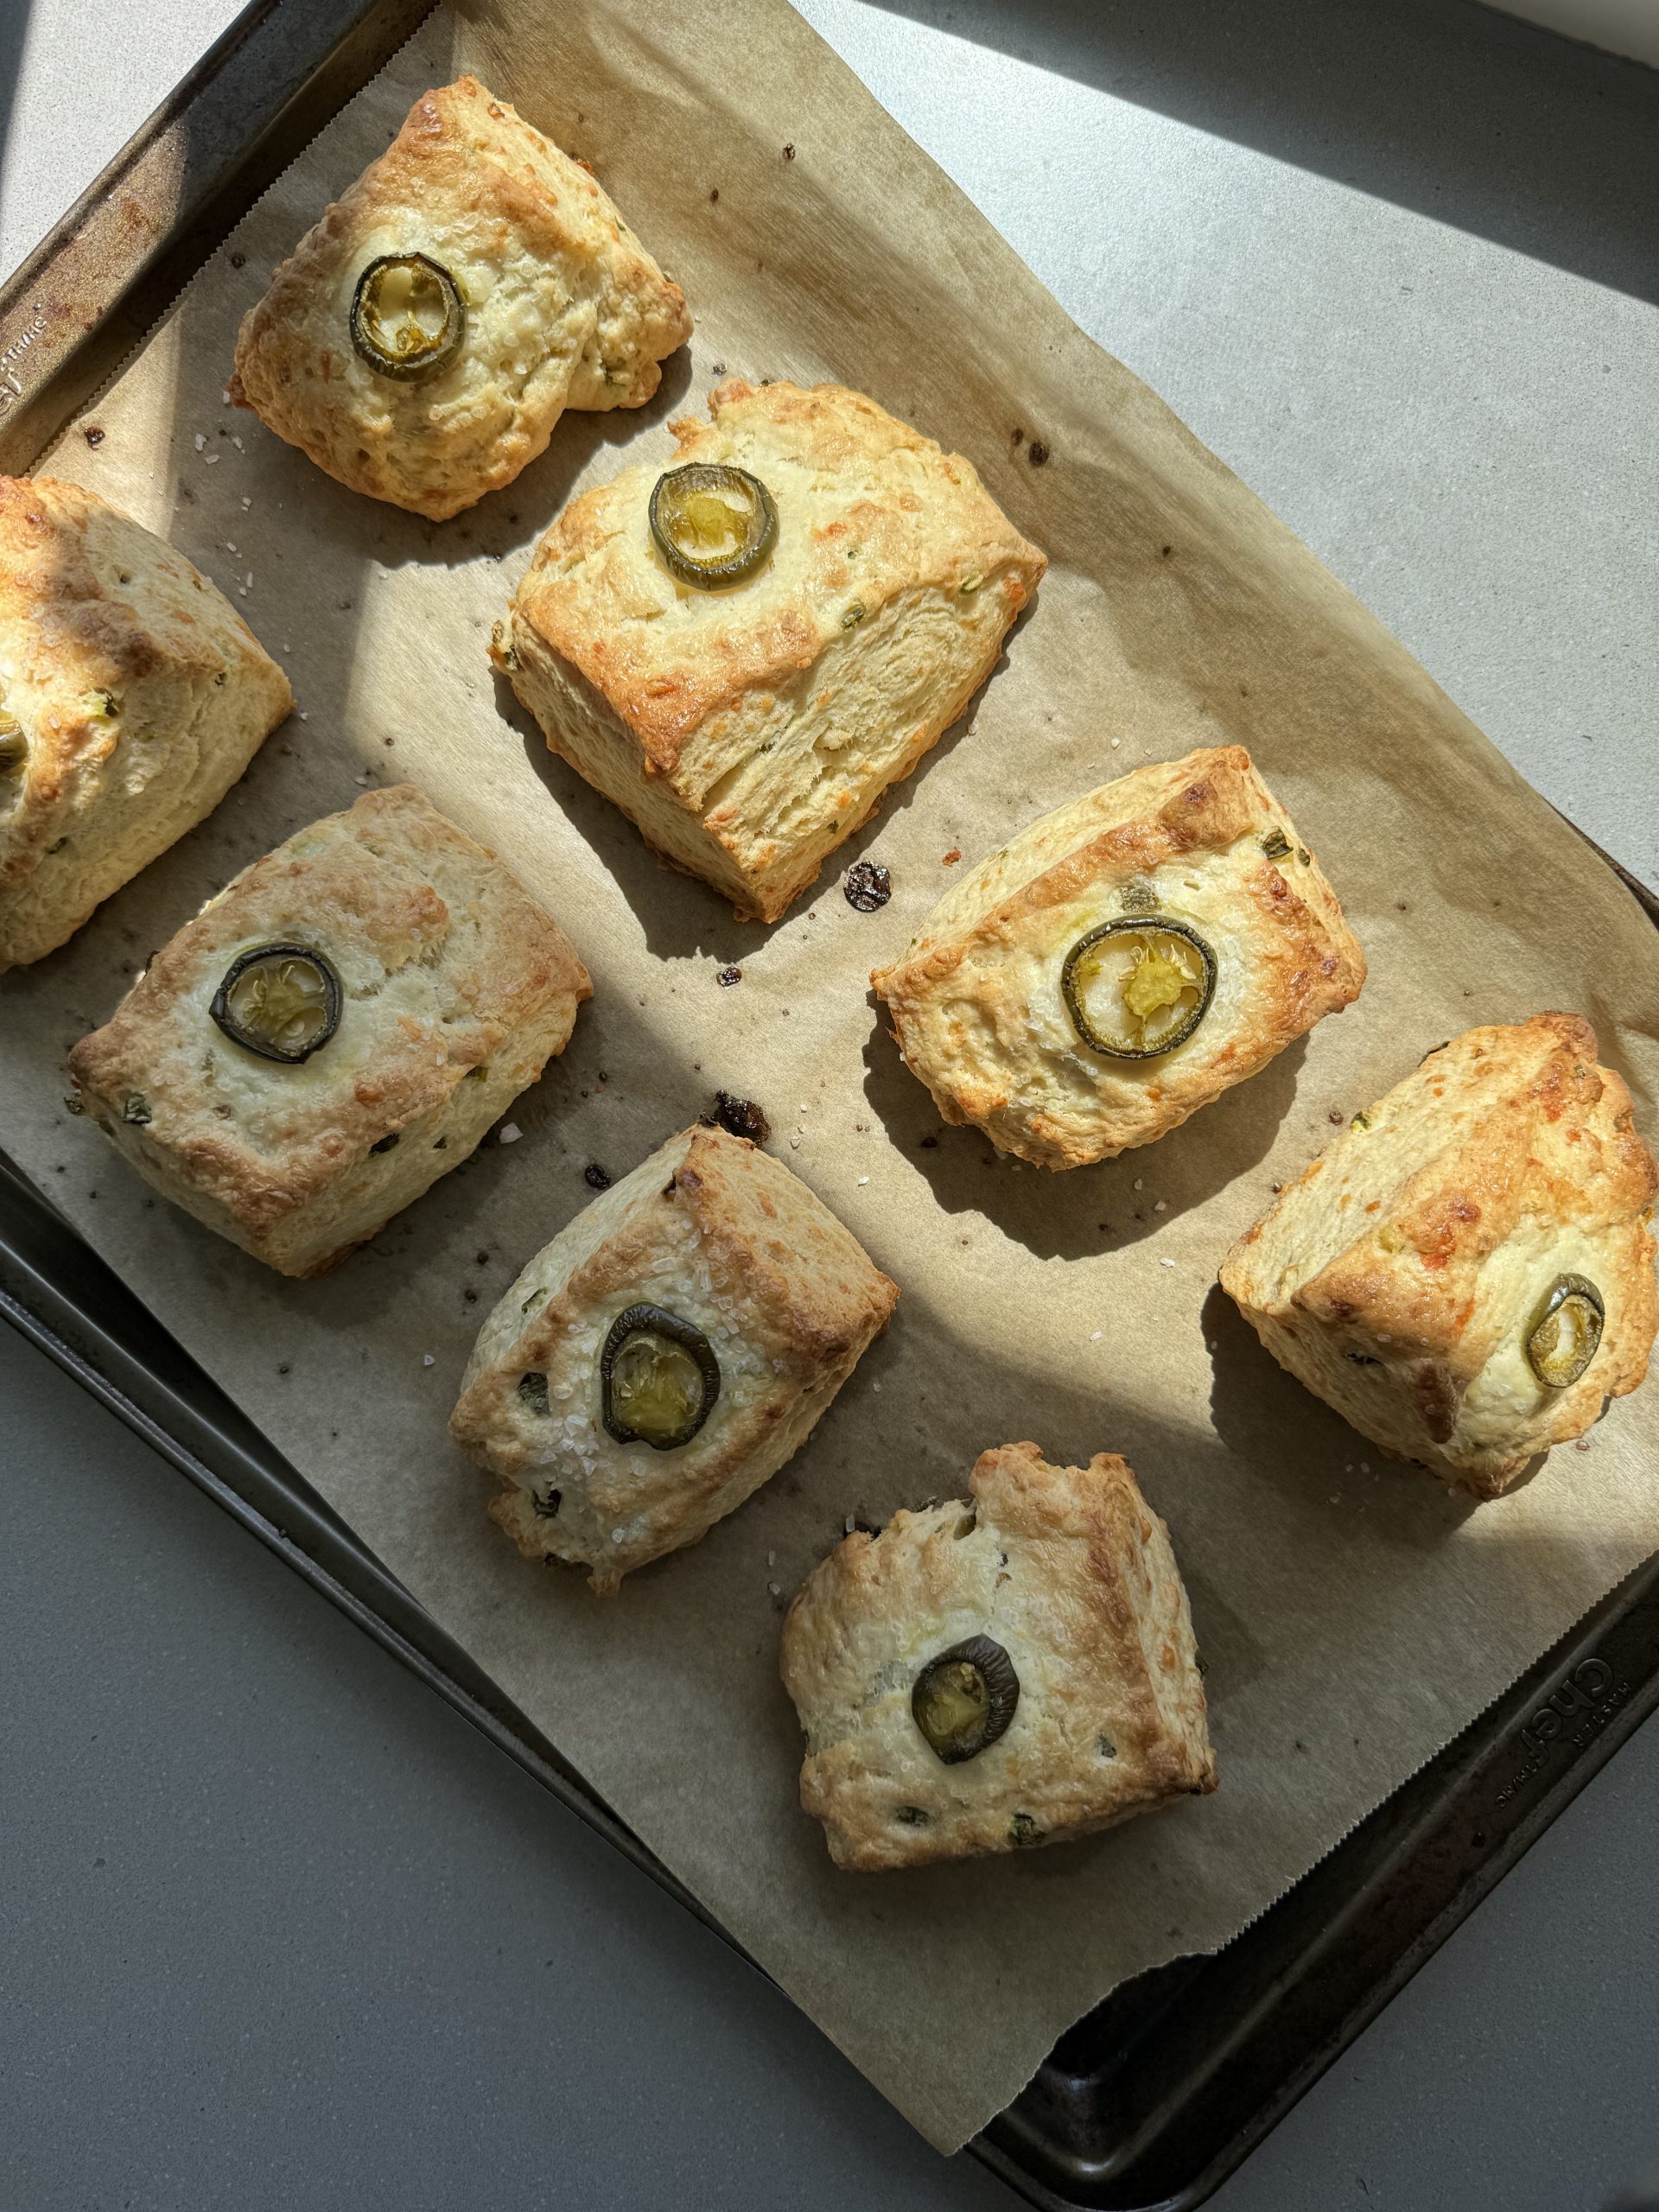
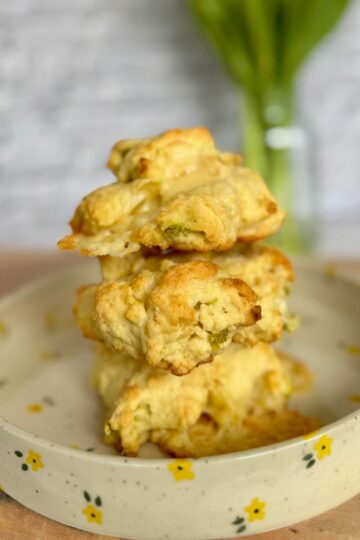
More Baking Recipes You'll Love
Did you make this recipe?
If you make this recipe, be sure to comment and rate it down below. Also, tag me @harvesttablenutrition on Instagram - that way I can see your delicious creation and share it with my followers!

Dill & Feta Stuffed Greek Pita
Ingredients
- 1 tablespoon maple syrup
- 1 ½ cups warm water, divided
- 2 teaspoon quick rise instant yeast
- 4 cups all purpose flour
- 2 tsp salt
- 2 tablespoon olive oil, more for the bowl
- 1 cup feta, crumbled
- ¼ cup fresh dill, chopped packed
Instructions
- To a large bowl add maple syrup, ½ cup warm water and yeast. Let sit for 2-3 minutes.
- Add flour, salt, olive oil and remaining 1 cup warm water (you'll likely need to get new water, because your original will have cooled). Combine well with your hands. Once all the flour is mixed in, transfer to a lightly floured surface and knead until dough comes together and is smooth and elastic, about 3-5 minutes. Transfer to a lightly oiled large bowl.
- Let rest for about 1 hour, or until doubled in size.
- Meanwhile, make your stuffing. Add your crumbled feta to a small bowl (make sure the feta is well crumbled into very small pieces), and then add your dill. Mix until they are well combined. Set aside in the fridge.
- Once your dough has double in size, turn it out onto a lightly floured surface. Using a bench scraper, divide your dough into 10 equal sized pieces. Each one will be about 95-100g. Then shape each piece into a ball.
- Working with one ball at a time, gently press your thumbs into the centre of the ball, and then work around the ball to create a bowl-like shape. Add 1 tablespoon of your feta and dill mixture into the centre of the dough and then gently pinch the edges back together to close the dough and lock the stuffing inside. Once the stuffing is securely in place, roll the dough back into a ball. Repeat this process with each dough ball.
- Once your dough balls are stuffed, use your hands or a rolling pill to shape them into pitas. Aim for 6" in diameter. They don't have to be perfect circles. And some feta might peek through or come through the dough. That's fine.
- Cover the rolled out pitas with parchment paper or a clean towel, and let them rise again for another 15-20 minutes.
- Lightly brush both sides of the pitas with olive oil.
- Put a large frying pan over medium heat. Let the pan get hot before placing the first pita on it. Once one side is golden brown, flip over and cook the other side. The first one will take the longest, but you will cook each side about 2-4 minutes, or until golden brown. You don't want the heat too high, or the outsides will burn without cooking the inside.
- Remove from the heat and place on a wire rack to cool. Repeat with the 9 remaining pitas.
- Enjoy them on their own, or as a meal with some grilled veggies, halloumi, hummus, tzatziki and pickled onions.
Notes
Nutrition
Get my FREE Summer Salads Recipe Book
If you’re looking for more salad and salad dressing recipes I have just the thing. My Summer Salads Recipe Book includes 21 super simple salad recipes that are perfect for summer. They all take 30 minutes or less to make, and are perfect for meal prepping during the week or bringing to a backyard BBQ.