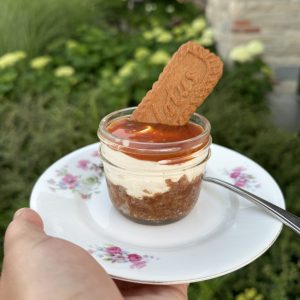
Biscoff Cheesecake Cups
These Biscoff cheesecake cups are the perfect no-bake dessert to make the next time you have guests (or need to bring a dessert to a party). They're super easy to make and don't require an oven! They just need to set in the fridge for at least 6 hours (and up to 24 hours). They are topped with a delicious Biscoff caramel, which does require a little cooking, but is a fun thing to learn how to make!
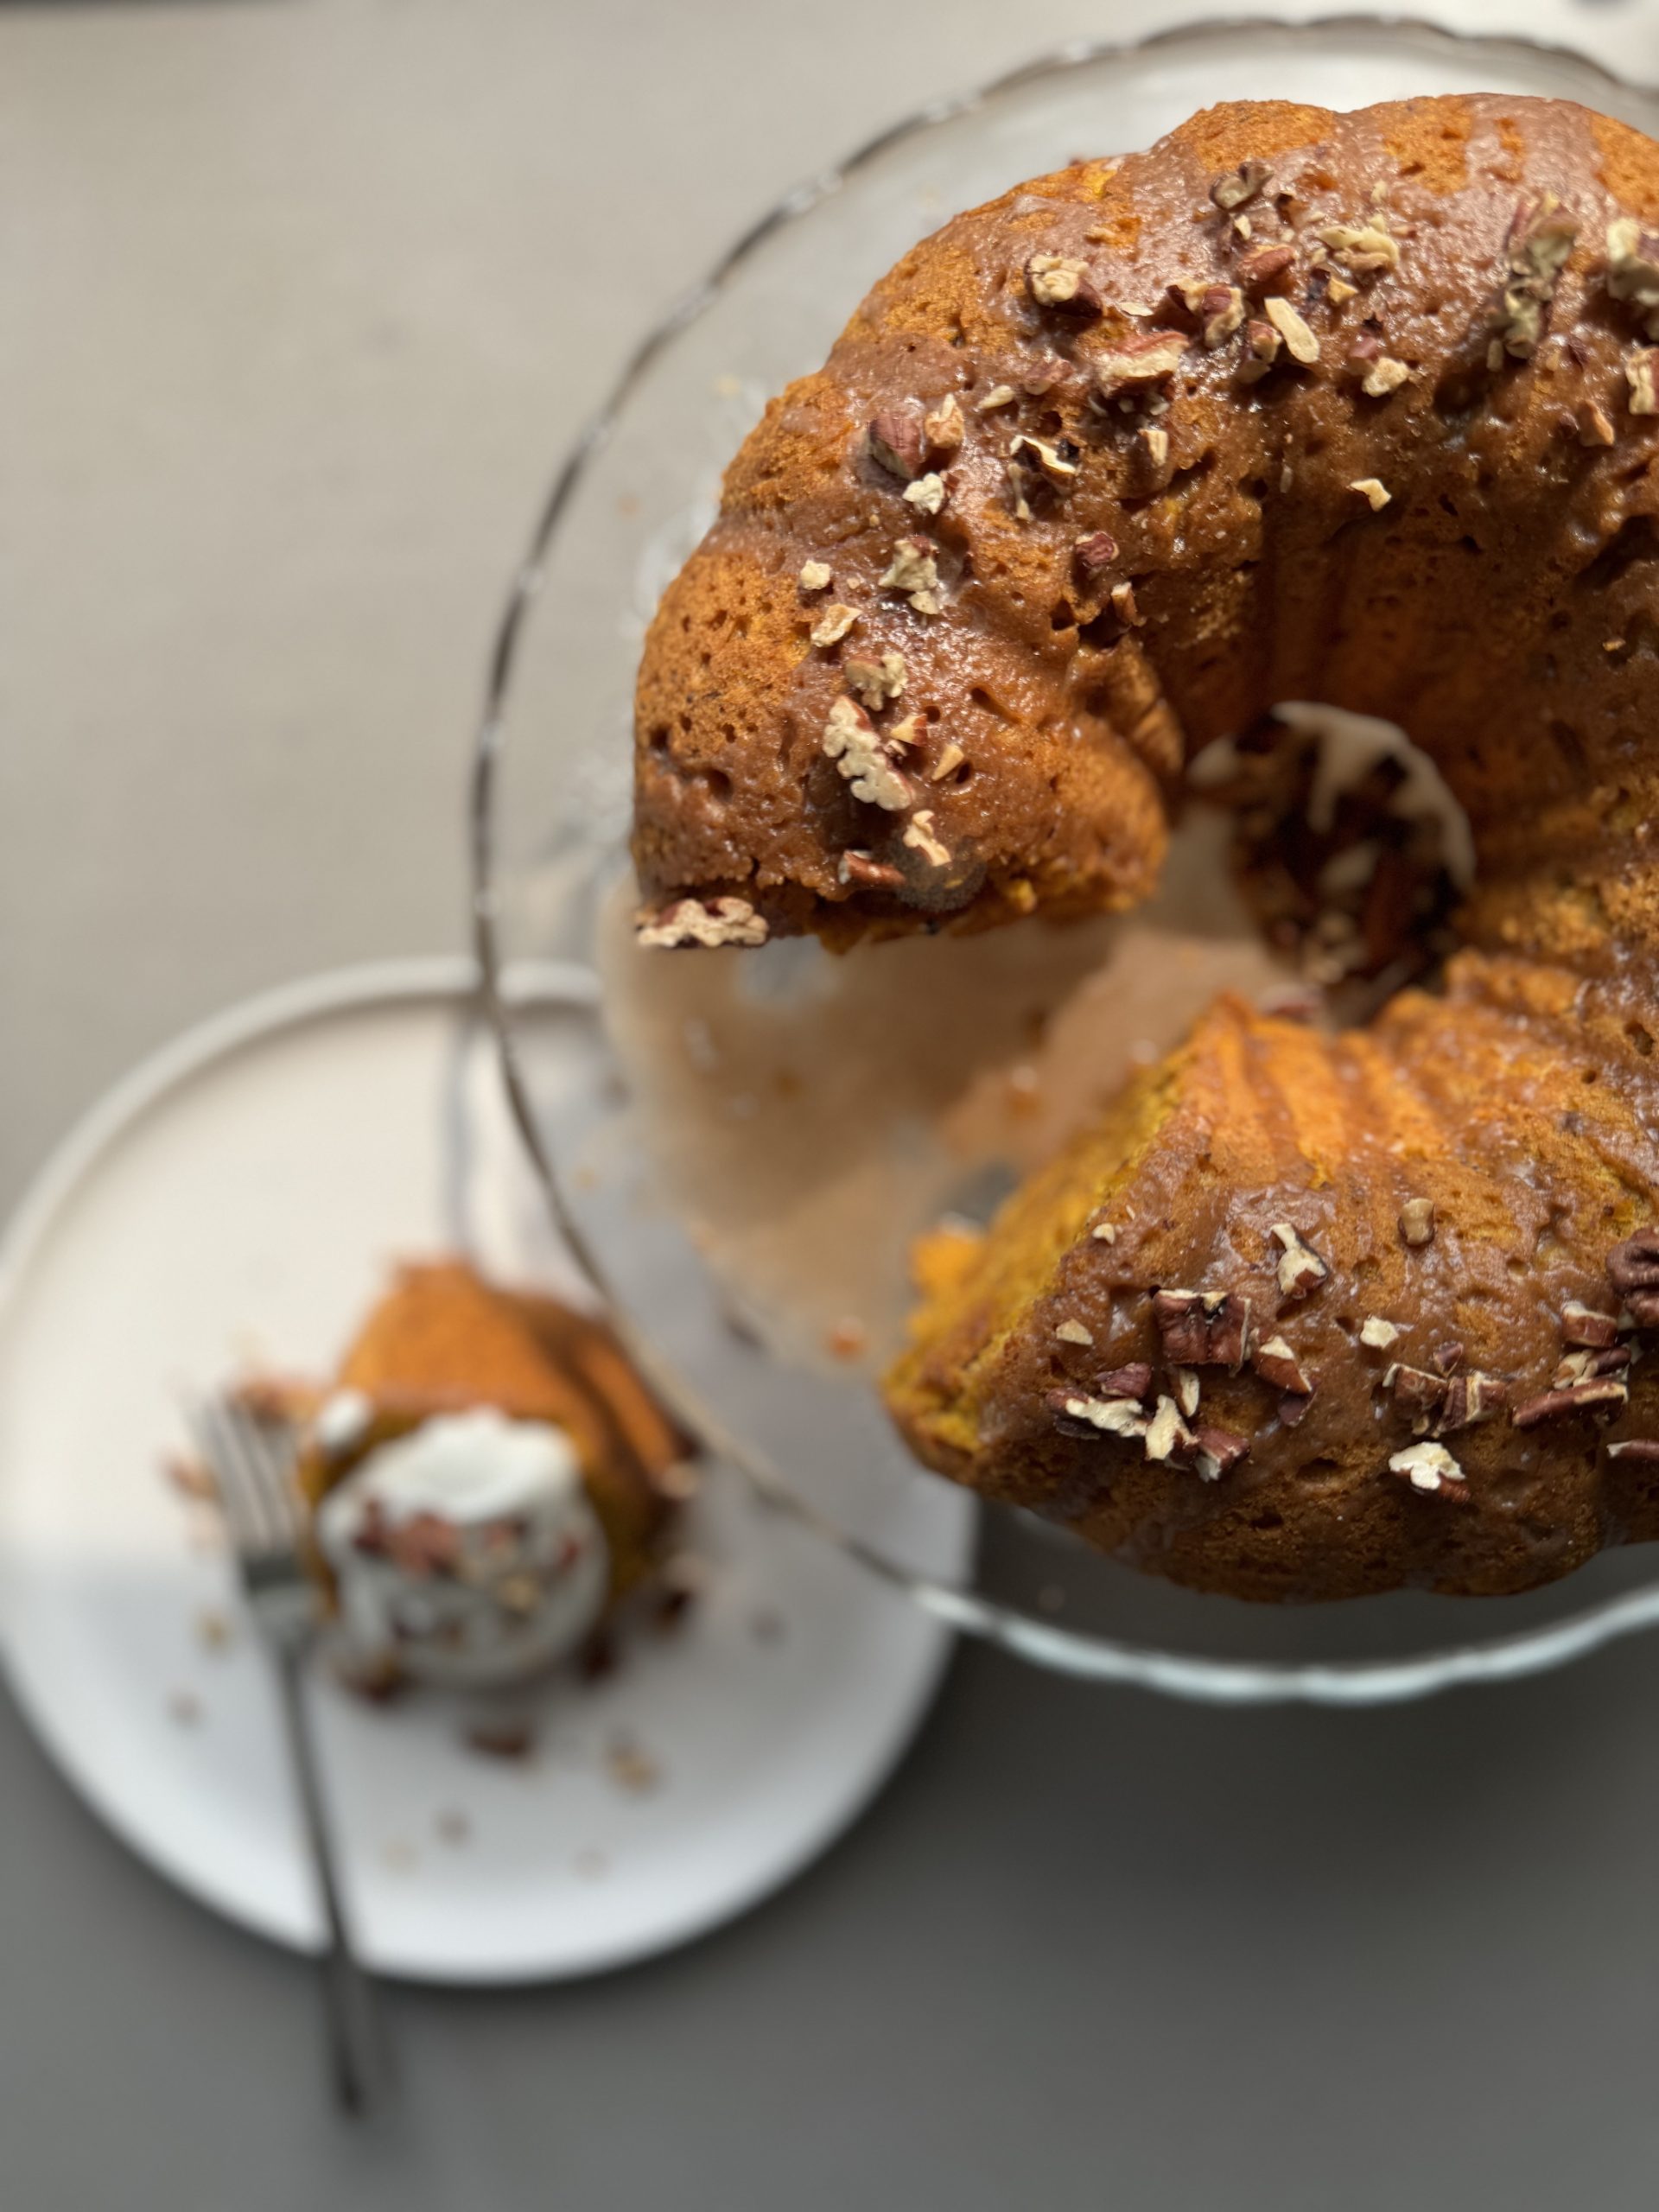
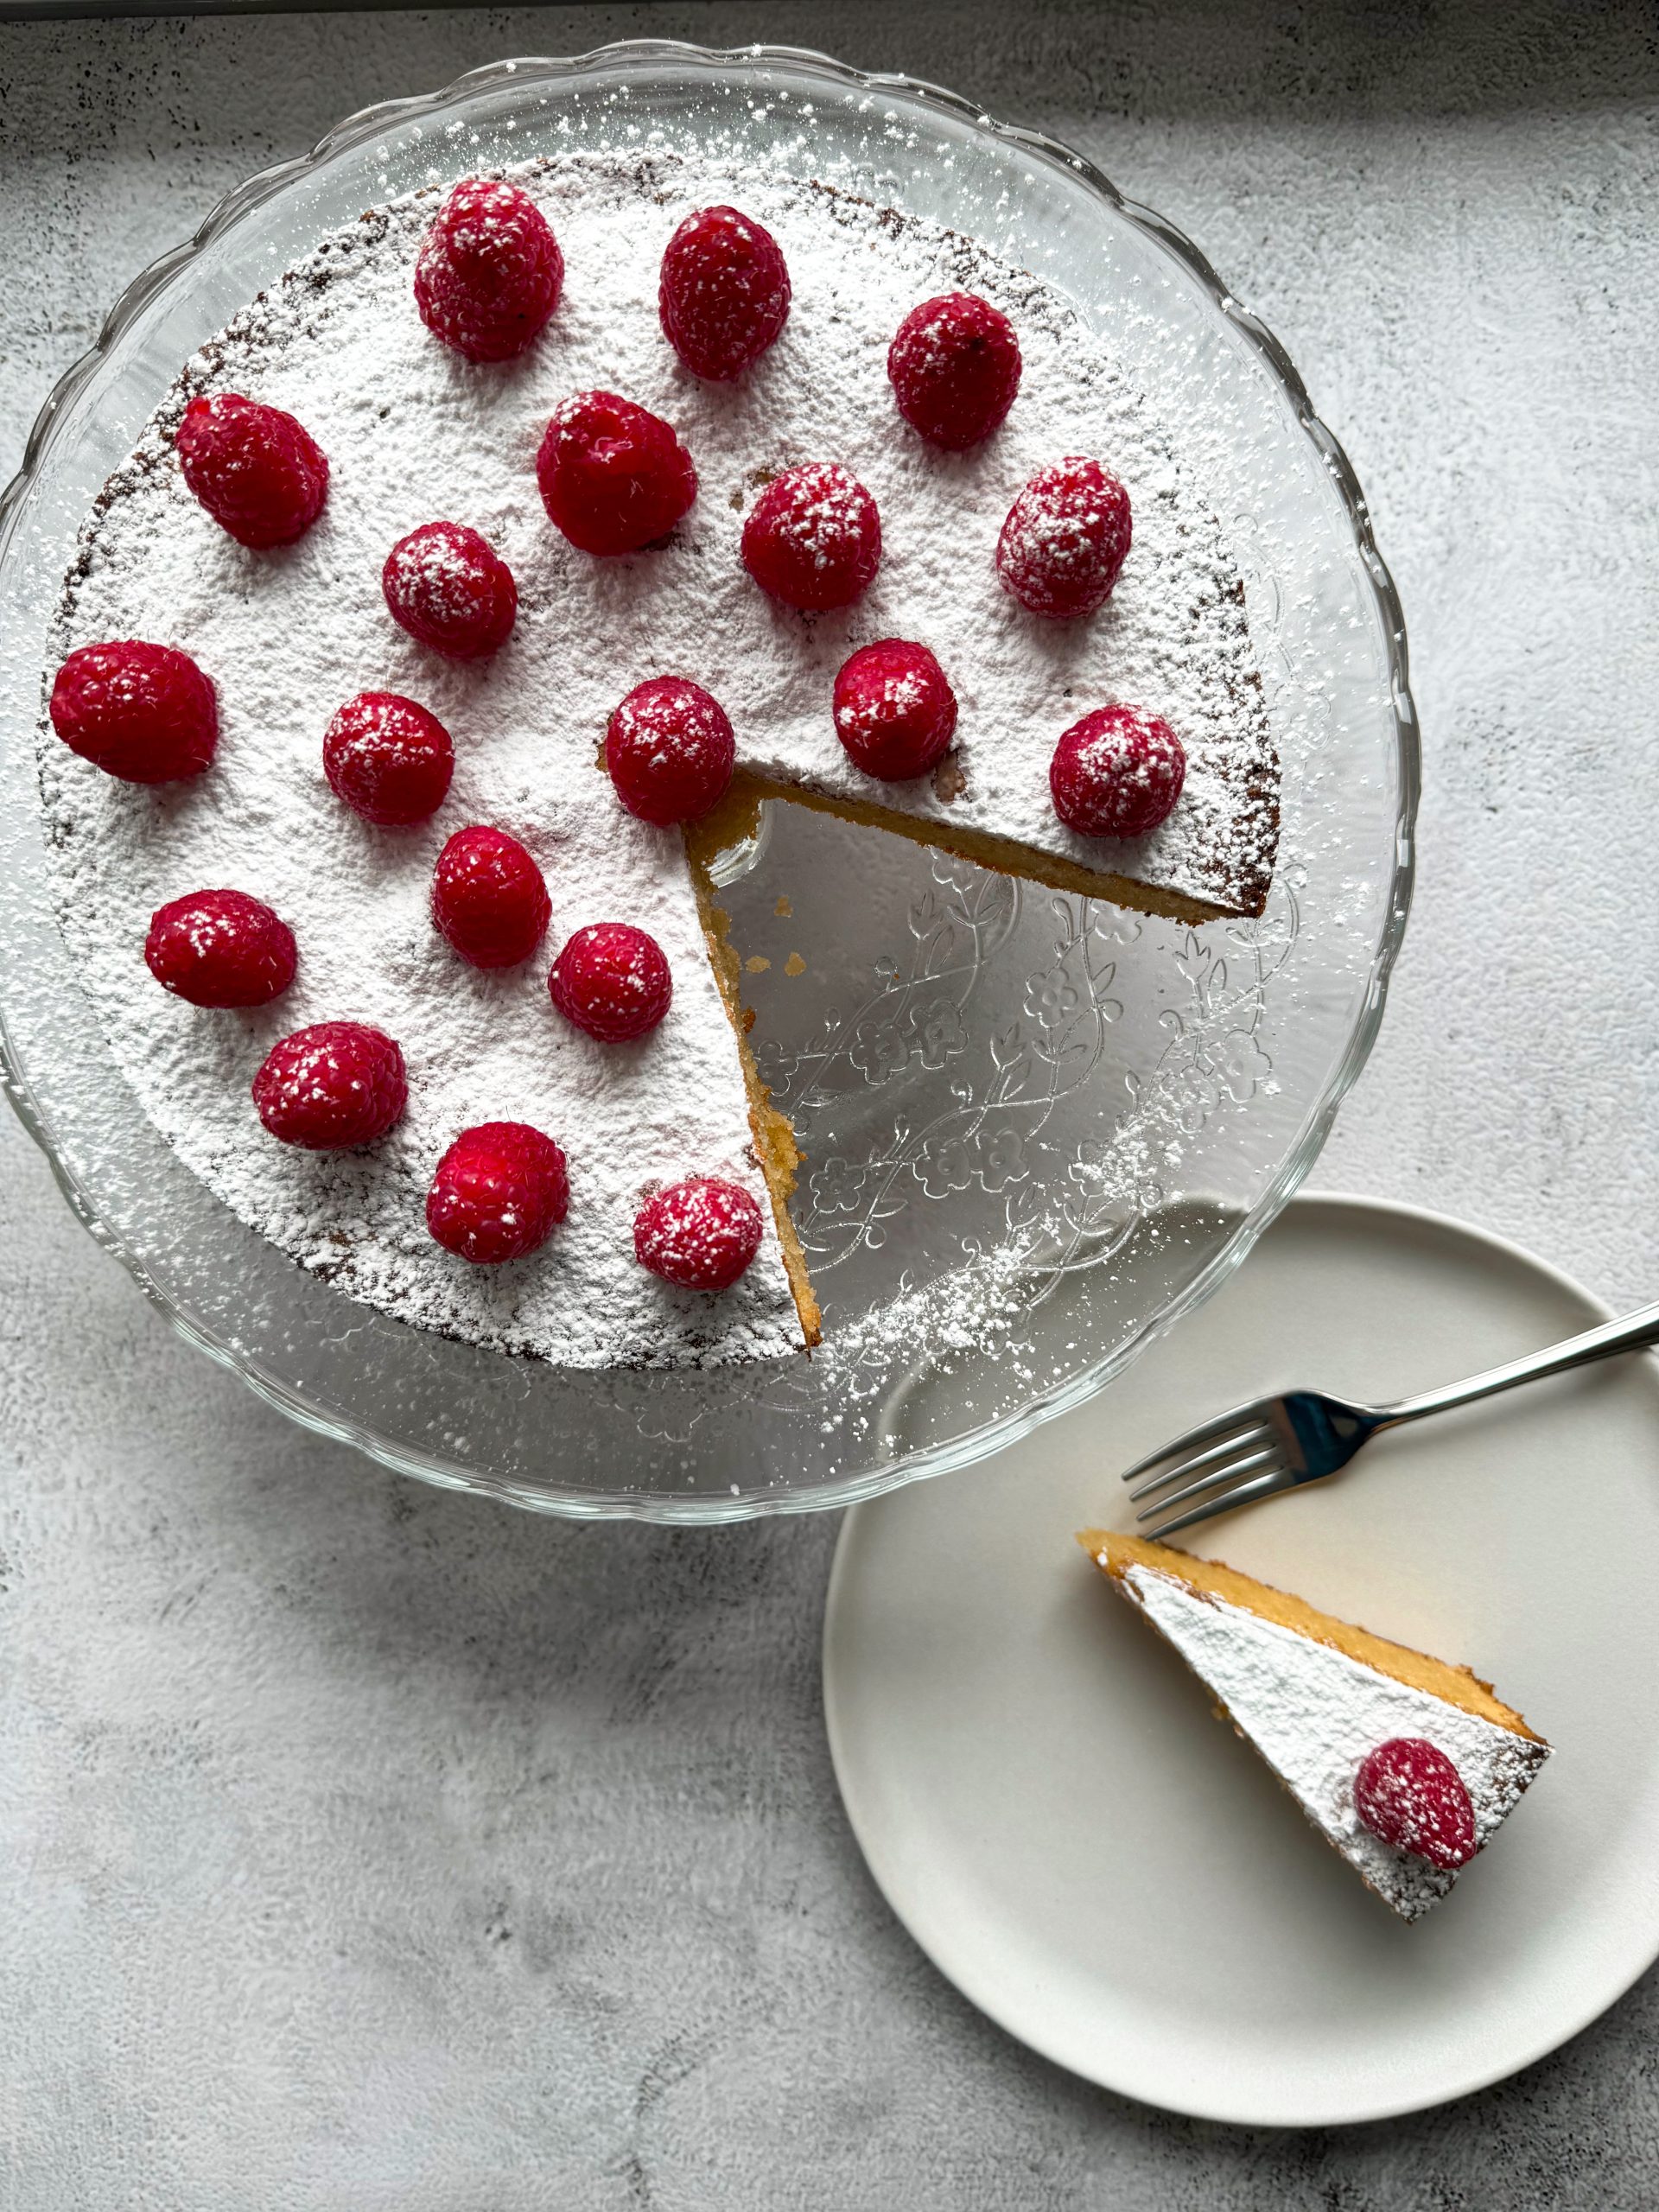
If you’re looking for other dessert recipes check out my Almond Raspberry Cake and my Spiced Apple Pear Loaf.
Why you’ll love these Biscoff cheesecake cups
- No-bake: the caramel sauce needs to be made on the stove, but other than that everything is no-bake!
- Small: sometimes you want something sweet for dessert, but don't want anything too big. I find the mini mason jar the perfect size for a light dessert.
- Make ahead: since these cheesecakes need to set in the fridge from 6-24 hours, they can be made a day ahead!
What you need to make these Biscoff cheesecake cups
Unlike a traditional cheesecake, you don't need too many ingredients for this, which is great! All the quantities can be found in the recipe card below.
- Biscoff cookies
- Biscoff spread (smooth)
- butter
- cream cheese
- sugar
- lemon juice
- vanilla extract
- whipping cream or heavy cream
Substitutions & Additions
Substitutions
- Skip the caramel: the caramel is optional (although I STRONGLY encourage it because it's soooo good), so you can skip it if you don't have the time or the desire to make it. Instead you can top the cheesecakes with fresh fruit.
Additions
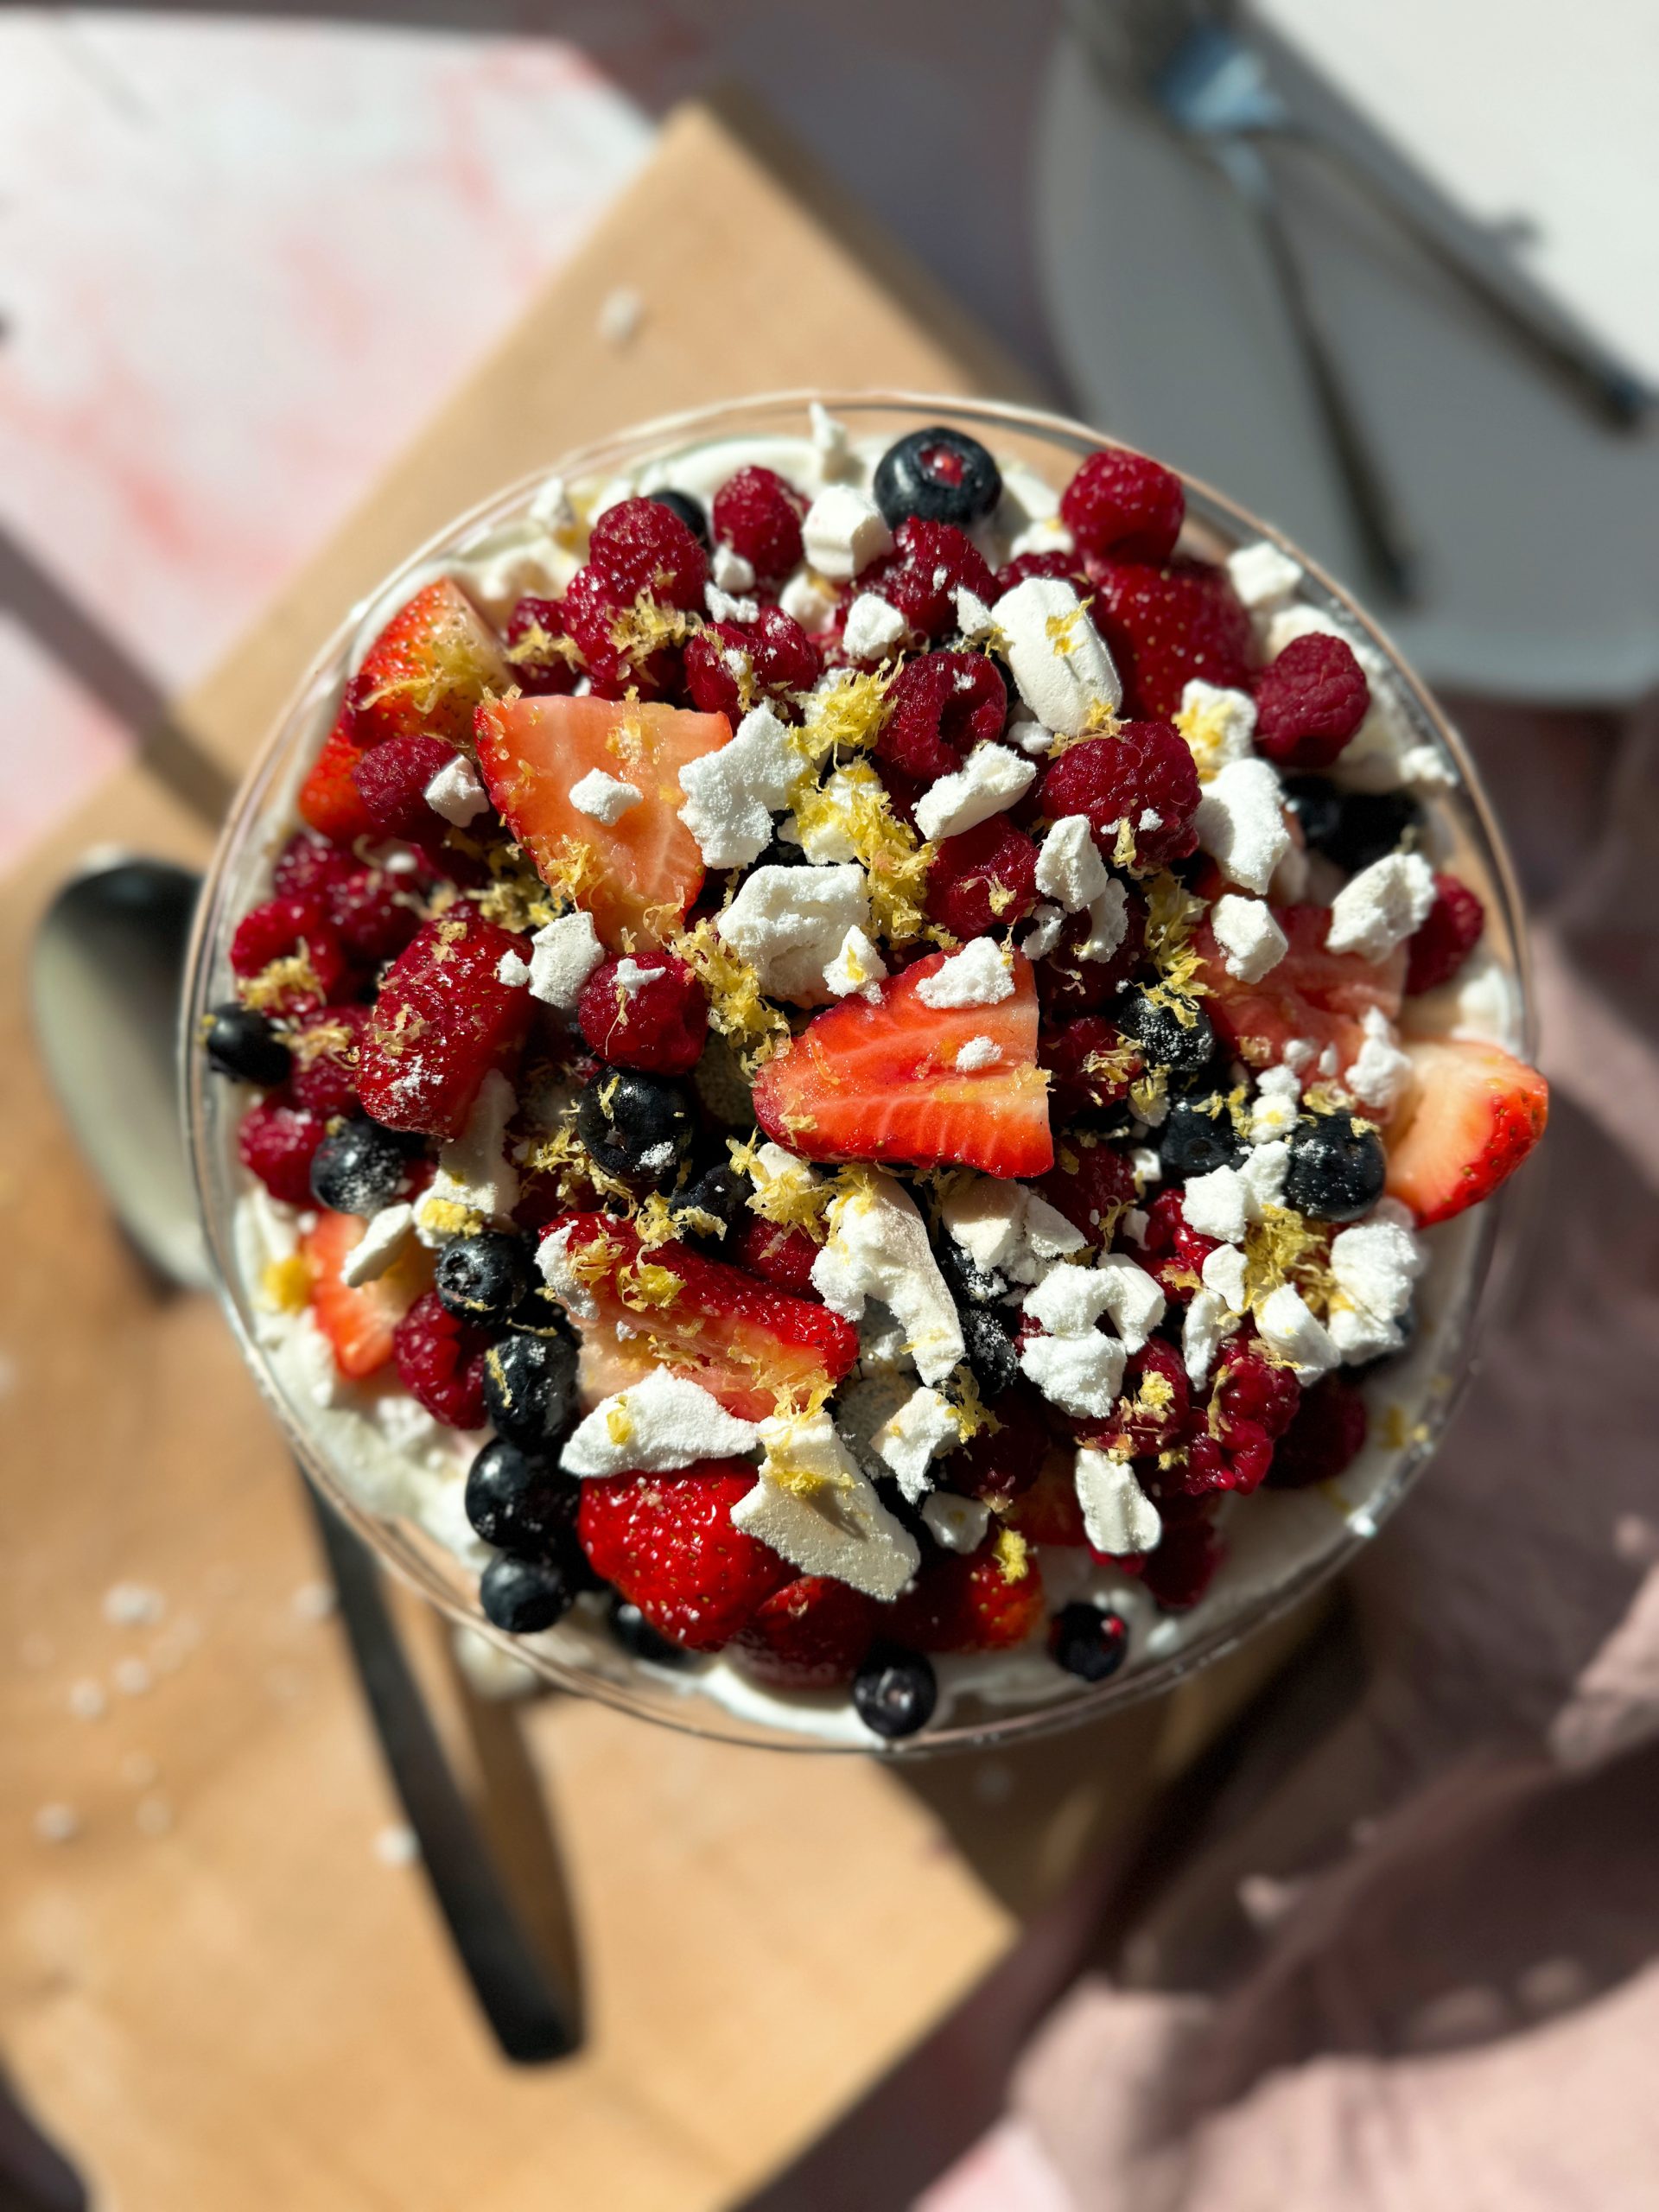
- Fruit: in addition to the caramel on top, you can serve the cheesecake cups with fresh fruit like blueberries or raspberries.
Biscoff Cheesecake Cups FAQs
Yup! To crush the Biscoff cookies for the crust, you can place them in a large Ziploc bag, and crush them gently with a rolling pin. The cheesecake filling can be made with a stand mixer rather than a food processor. And if you don't have either of those, you can use a hand mixer.
My favourite way to decorate is by topping them with Biscoff caramel sauce, and garnishing with a Biscoff cookie. If you don't have time of the caramel sauce, you could try drizzling melted Biscoff spread on top with some crushed Biscoff cookies, or just adding whipped cream and fresh fruit.
Chill for at least 6 hours, but ideally overnight to ensure the cheesecake layer is set properly.
You want to use full fat cream cheese for the best flavour and texture.
Nope! No baking required. Simply chill until firm! It makes them ideal for quick desserts or make-ahead entertaining.
Biscoff Cheesecake Cups
Equipment
- 6 mini mason jars
- 1 stand mixer (or hand mixer)
- 1 Rolling Pin
Ingredients
Crust
- ¼ cup unsalted butter, melted
- 20 + 6 Biscoff cookies (20 for the crust, 6 for garnish)
Cheesecake filling
- 1 8oz package cream cheese, softened
- 1 tablespoon lemon juice
- 1 teaspoon vanilla extract
- ½ cup whipping cream or heavy cream, cold cream over 30% M.F.
- 1 tablespoon sugar
Caramel
- 270 g white sugar
- 60 ml water
- 120 ml heavy cream
- 22 g unsalted butter, cold
- ¼ cup Biscoff spread, smooth
Instructions
- CRUST: crush 20 Biscoff cookies. You can do this in a food processor, or add them to a large Ziploc bag and gently crush them with a rolling pin. And to a bowl. Add the melted butter and mix to combine. It should be the consistency of wet sand.
- Add 2 tablespoon of the crust to each mini mason jar. Gently use your thumb (or a spoon) to press the crust into the jar. Add a little more crushed cookie mixture to build up the sides of the crust. You don't want to press too hard, otherwise the crust will be tough to break into. Press just enough so the crust holds.*
- Place the mason jars in the freezer for the crust to set for 10 minutes.
- FILLING: while the crust is setting, make the cheesecake filling. In a large bowl with the paddle attachment, whip the softened cream cheese for about 1 minute. Scrape down the sides of the bowl and add the lemon juice and vanilla. Whip again until light and combined, another 30 seconds or so. Set aside.
- In a separate bowl (ideally a very cold bowl), add the cold whipping cream and the sugar. Using the whisk attachment, whip the cream until you get stiff peaks (about 1-2 minutes).
- Gently fold the whipped cream into the cream cheese mixture. Once it's mostly combined, transfer the bowl back to the stand mixer with the whisk attachment and whip again for 5-10 seconds. This helps combine the two mixtures and get out any lumps from the cream cheese.
- Divide the filling equally among the mason jars. Place in the fridge to set for at least 6 hours, and up to 24 hours.
- CARAMEL: add sugar and water to a pot. Bring to a boil. DO NOT STIR*. If you notice sugar crystals start to form on the surface or the sides of the pot, brush with cold water. Continue boiling until the sugar caramelizes and starts to darken in colour (maybe 6-8 minutes). It can go from caramelized to burnt very quickly, so keep your eye on it!Remove the pot from the heat and add in the cream. It will bubble up and splatter a little, so be careful. Stir while you're adding it in. Once combined, add the butter and Biscoff spread. If necessary, return the pot to heat for everything to melt. Stir until everything is combined and the caramel is nice a smooth.Cool the caramel to room temperature and stir before using.
- When you're ready to serve your cheesecakes, pull them from the fridge and let them sit at room temperature for 5 minutes or so. Cover the top with 1-2 tablespoon of caramel and garnish with a full Biscoff cookie.
- Enjoy!
Notes
Nutrition
Get my FREE Summer Salads Recipe Book
If we haven’t met yet, hi hello! I’m Bailey, a Registered Dietitian and recipe developer. I offer 1:1 nutrition coaching and cooking classes to help make healthy eating easier. On my blog you can find easy, seasonal, vegetarian recipes! If you try this recipe (or any of my other recipes), leave me a comment with your thoughts!
If you’re looking for more salad and salad dressing recipes I have just the thing. My Summer Salads Recipe Book includes 21 super simple salad recipes that are perfect for summer. They all take 30 minutes or less to make, and are perfect for meal prepping during the week or bringing to a backyard BBQ.
A delicious no-bake dessert. If you try this recipe, let me know how you like it!
These are outstanding.
The perfect serving size!
I’m making them for a group of 10.
I'm so glad you enjoyed them! They are the perfect thing to make for a large group!